I’m not sure if I’m what you might call a Space Expert, butI think I know my way around a bit. The following information is a response to a thread posted earlier from a first time Pilot Master hopeful asking if the
Vette could be done solo.
Simple answer, Yes, yes it can.For a more detailed answer, check the following guide.
A Few Things That Don't Fit Into the Step-by-step:
-
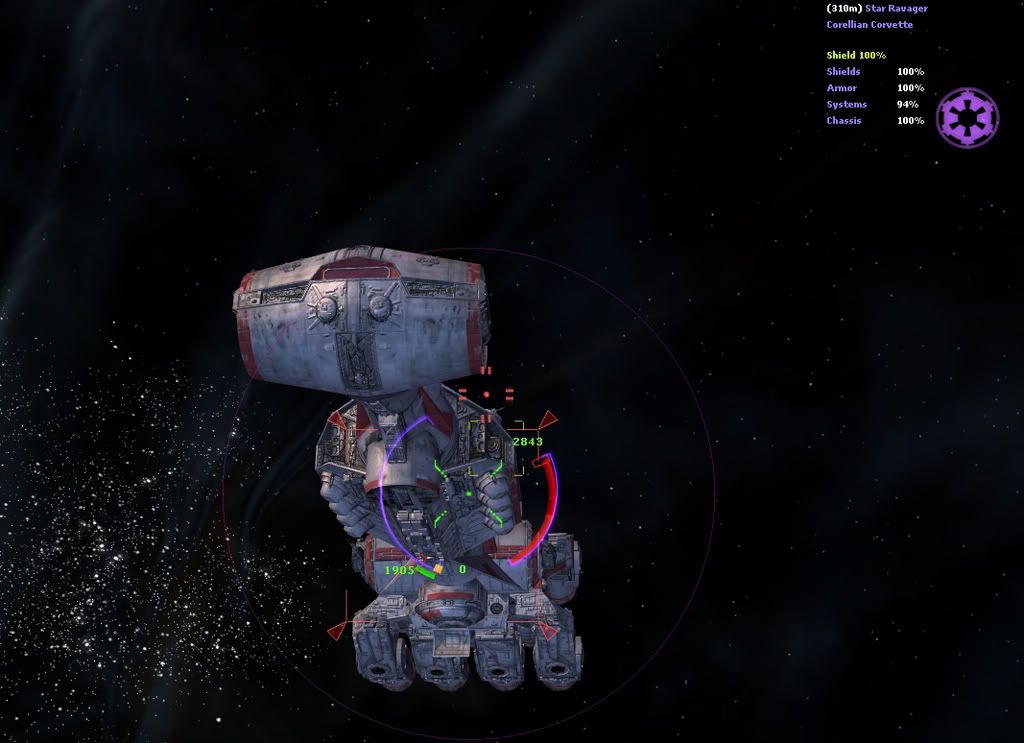
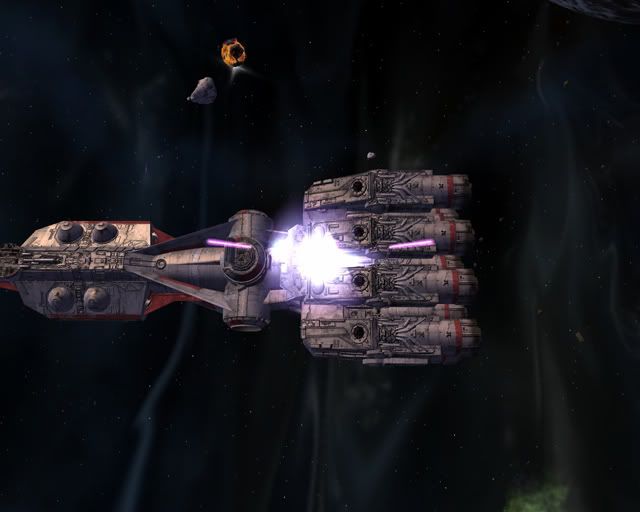
First and foremost, unlike everything else in space, with the exception of the Star Destroyer and Freedom Station, to destroy a component on the Corvette, you have to shoot DIRECTLY AT that component. Targeting a component and just randomly shooting the corvette will get you nowhere.
-
I recommend running the following programs on your ship to boost your chances of successfully killing the vette. Weapon Overload 3/4, Reactor Overcharge 3/4, Engine Overload 3/4, and Capacitor Overcharge 3/4. Also having Capacitor to Shield Shunt 3/4 can't hurt.
-
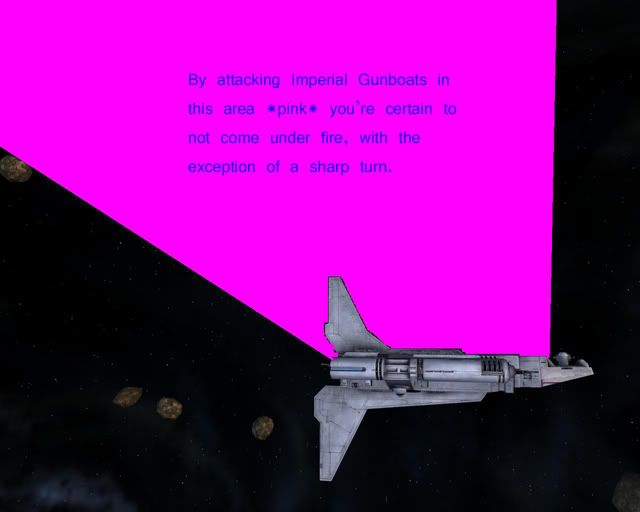
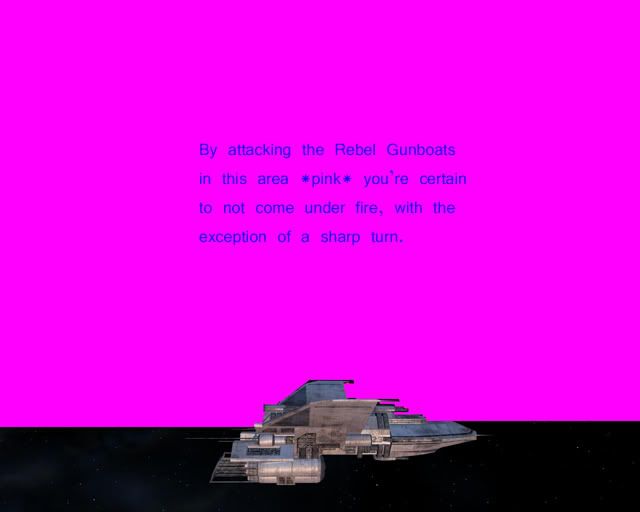
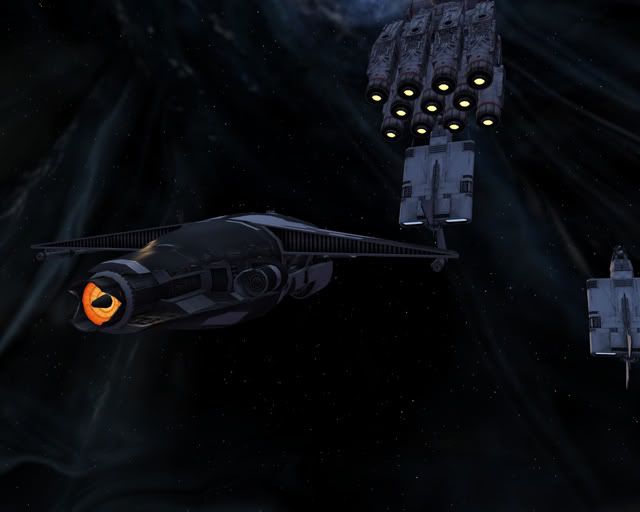
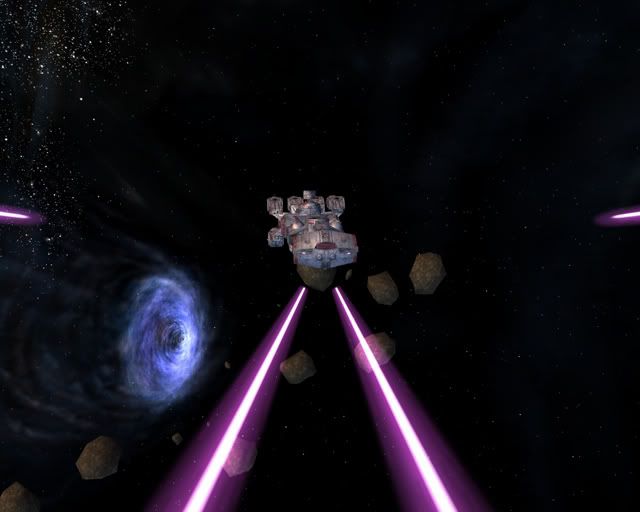
I also recommend playing with a Gunship or two before hand to get a hang of their blindspots. The Imperial Gunboats can be tricky, their blindspot is more of a "cone" while the Rebel Gunboats have an entire hemisphere worth of blindspot.
Imperial Gunboat Blindspot
Rebel Gunboat Blindspot
-
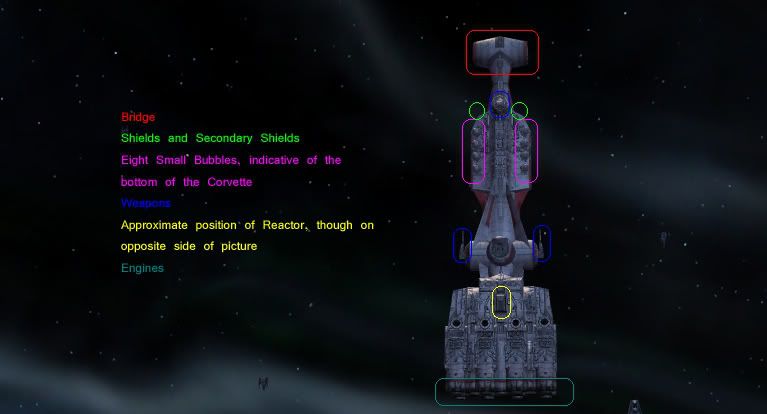
The bottom side of the vette is the safe side, once Weapon 5 has been destroyed. To identify at a distance, which is bottom and top you will notice one side, has 4 large bubbles in the middle, and on the opposite side, 8 small bubbles in the middle. The 4 large bubbles are turrets, 0, 1, 2, and 3, they are also on the TOP side of the Vette. The 8 smaller bubbles, hold no malicious devices, and are on the BOTTOM side of the Vette.
-
If you do make a mistake, or the vette turns on you too quickly for you to react, or if a gunboat snags you, or anything really. You do not fail the Mastery Mission if you die. Quickly Make your way back to the Corvette and continue to work it over.
A Quick Run Down:
Bridge - the final component for detonation. When the Bridge is destroyed, the mission is complete, and the Vette blows up.
Shields and Secondary Shields - When these two components are destroyed, the Engines can be targeted, and taken out.
Eight Small Bubbles - Indicative of the bottom of the Corvette. The danger lies in the four large bubbles on the opposite side, which are turrets.
Weapons - In this picture, the front weapon circled is Weapon 5. The removal of Weapon 5 on the corvette opens up an entire hemisphere worth of blind spot to work in.
Reactor -This is the approximate location of the Reactor *which is actually on the opposite side of the Vette than depicted here*
Engines - By disabling the Engines, the Reactor becomes Vulnerable
Corvette Bottom Side Map
Step 1:
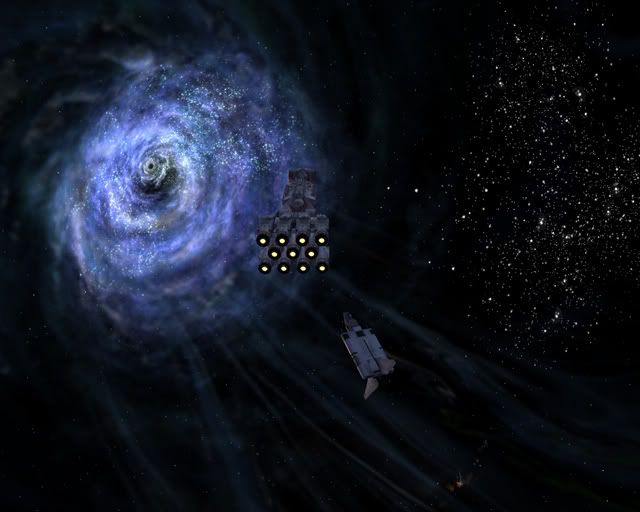
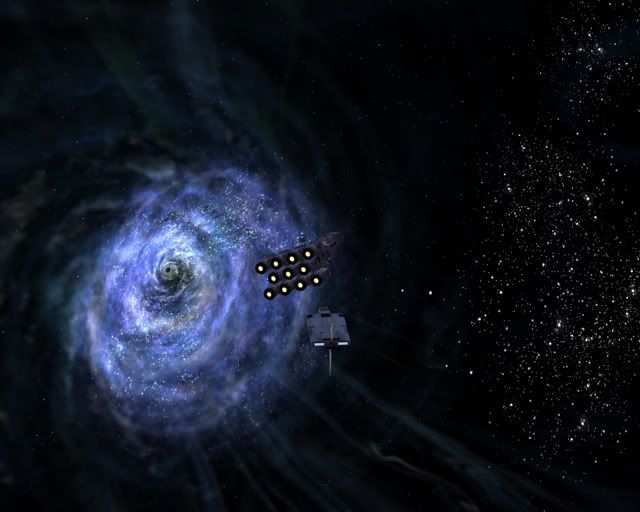
If you're camping in wait for the Corvette to spawn, wait a minute or two for it to settle down and start on it's course. If it's weaving, and spinning, and turning back and forth, then wait for it to calm down.
Step 2a Rebel Only:
IFF Scramble and skip to step 2c.
Step 2b C Imperial ONLY:
Call in a Bomber Strike just inside of the corvette's agro range *about 1km* then move out of range long enough to let the fighters attack. While Weapon 5 is focused on the strike fighters, knock out Weapon 5 quickly. then help the strike fighters clean up the Corvette's Escort Compliment.
Step 2c Freelance and Rebel:
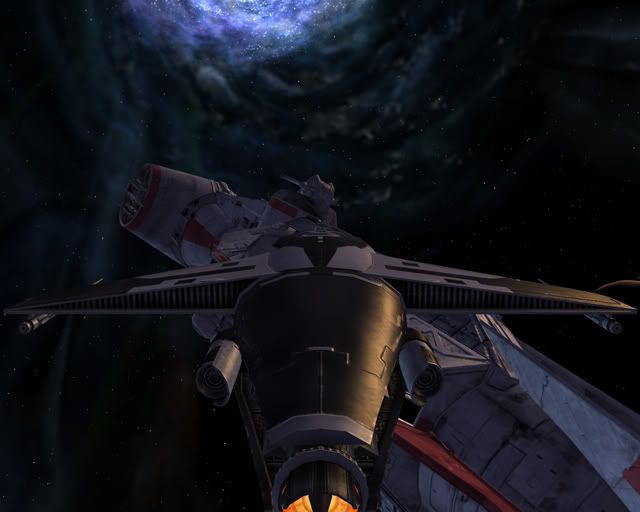
Move into position on the bottom side of the corvette by targeting Weapon 5, and moving into position right behind it.
Getting Into Position
Step 3:
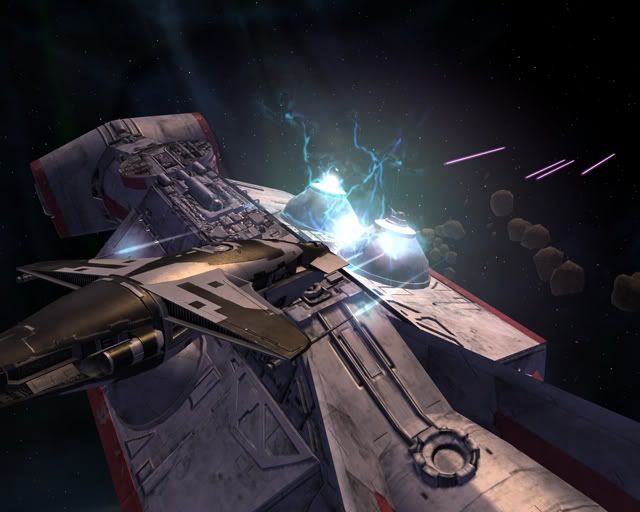
Destroy Weapon 5, as quickly as possible, and immediately turn 90 degrees upward, and boost away from the Corvette dragging it's fighter escort with you. Pull them about 2km away from the Vette, and melt them.
If you're fighting an Imperial Corvette, try to take out the Aggressors first. If you are unable to kill the Aggressors, target their Weapon 1, the sooner that gun is gone, the sooner the Aggressors' become the least dangerous thing in the cluster. Next target the Oppressors, if possible. The 2 of them typically fly very close together.
Step 4:
Moving into position in the Blind-spot Cone of the Gunboat closest to the Corvette. *the one who's nose is continually bumping the Corvette in the engines* Since you've killed Weapon 5 on the Vette itself, it will be unable to shoot you while you work down the gunboats if you stay on it's bottom *weapon 5* side. Target the Gunboat's Engine first, once it is disabled, you may finish it off at your own pace.
Taking Position on the Gunboats
Step 5:
RUN! Once the first Gunboat is destroyed, the second will move to take it's place. When the second gunboat achieves it's new position and course, the Corvette will make violent turns similar to a "Crazy Ivan" maneuver. Wild swining left to right is less severe when facing the Imperial Corvette but the Rebel one can be quite dangerous. So as the second vette is moving into position, move back about 1,500m and wait for it to settle back down.
Wait for Gunboat to Settle in Behind Vette
Crazy Ivan
Step 6:
Repeat Step 4 on the last gunboat. Usually the Corvette will not make a second "Crazy Ivan" but I have seen it do such, so be careful.
Step 7:
Keeping your ship on the bottom side of the Corvette, race to the front and target it's "Shields". *by targeting s"Shields" first, upon it's destruction the target will automatically drop down to Secondary Shields, and you won't have to reacquire your target* take out the other shield as well.
Target Shields then Secondary Shields
Step 8:
Move to the back, and take out it's engines.
Step 9:
By now you have a disabled Corvette. It's yours to do with as you wish. I can only tell you how I like to handle things from this point. From the bottom side *Weapon 5 side* roll around to the Starboard side of the ship *to find that target Weapon 7* and while keeping yourself just enough on the bottom side to avoid Weapon 1, and 2, destroy Weapon 7. Then slowly swing around to hit Weapon 1 and 2 as well. Continuing to roll around the Corvette, hit Weapon 4, which is exactly opposite of Weapon 5, but on the top side. Rolling over even more, eliminate Weapons 3 and 0. Finally, if you want, destroy weapon 6.
Starboard Gun Weapon 7
Starboard Guns Weapons 1 and 2
Top Side Gun Weapon 4
Port Guns Weapons 0 and 3
Top Side Reactor
Final Step Bridge
Step 10:
On the top side of the vette, is the Reactor. Target it, and move a 100-200 meters away from the vette. Turn around and destroy the Reactor. Often times, depending on the gun locations of your ship, it's difficult to find the right spot to aim at to hit the Reactor, but you will eventually destroy it.
Step 11:
Swing around to the front of the Corvette, look it right in the eyes *the bridge* and plug it in the face a few times until it is destroyed and your mission is complete, or if you're just goofing around, until you get the credit chip.
You've done it! It's that simple.
Land and pick up your rewards, and train for Master Pilot!
Imperial Vette Entry 7300 7500 6300
Imperial Vette Exit -5581 182 -5586
Rebel Vette Entry 7593 -7515 -6761
Rebel Vette Exit -6433 5022 6380