This guide encompasses all updates including Chapter 8, and will cover all the basic in being a pilot, what ships have advantages over others, stats to look for are certain ship parts, and much more. And yes, this is the "Short" version of this guide.
Pilot Profession Basics:
The Pilot profession shares some similarities with the ground professions, but it differs in a number of important ways. First off, anyone can be a Pilot no matter their ground profession. Training comes from your various Pilot trainers, not automatically as you gain experience, and is based both on experience gained and your progression through your squadron's missions. Lastly, you can only be in one squadron at a time, but unlike the ground game, it is possible to leave your squadron to move onto another or even a different faction if you meet that faction's requirements without needing to delete your character and start a new one.
Starting Out:
Once you've run the tutorial and are ready to join a side, the Pilot profession is composed of three different factions, each of which has three available squadrons to join. To join a faction, simply pick one of the trainers listed below for that faction. You must be the same GCW faction to join the Rebels or Imperials, but your GCW faction does not matter for the Freelance trainers. Here are the recruiters and initial trainers for each squadron:
-
Rebel:
Recruiter Location: J'pai Brek (-5072, -2343) Tyrena, Corellia
-
Arkon's Havok Squad:
Captain Kreezo, Tyrena, Corellia (-5177, -2281)
-
Vortex Squadron:
V3-FX {droid} (right across the bridge) Moenia, Naboo
-
Crimson Phoenix Squadron:
Commander Da'la Socuna (back room of the cantina) Mos Espa, Tatooine
-
-
Imperial:
Recruiter Location: Commander Landau (-5516,4403) Theed, Naboo
-
Imperial Inquisition:
Lt. Barn Sinkko, Kadaara, Naboo (5204, 6728)
-
Storm Squadron:
Lt. Akal Colzet, Bestine, Tatooine (-1110, -3514)
-
Black Epsilon:
Hakasha Sireen, Imp Outpost, Talus (-2183, 2259)
-
-
Freelancer:
Recruiter Location: Gil Burtin (-1174, -3647) Bestine, Tatooine
-
Smuggler's Alliance:
Dravis, Mos Eisley, Tatooine, Back room of cantina (3429,-4788)
-
Rebel-aligned
Note: This squad is lightly
. Your final mission will be against the Star Ravager (Imperial Corvette). Also, you cannot attack Hutt ships and, during Tier 2, cannot attack Valarian ships.
-
-
RSF Squadron:
Captain Dinge, Theed Naboo (-5497,4575)
-
Imperial-aligned
Note: This squad is heavily
. RSF Pilots can only hurt Imperial ships if they are a Rebel on the ground and go Overt at a Rebel Space Station (this
will
leave you open to PVP attack!) and your final mission will be against the Corellian Corvette (Rebel Corvette). You cannot attack RSF ships.
-
-
Corsec Squadron:
Sergeant Rhea, Coronet Corellia (-275,-4730)
-
true neutral
Note: This squad is
. On your final mission, you may choose to destroy either a Rebel or Imperial Corvette. You cannot attack CorSec ships.
-
-
If you don't have one already, your first squadron trainer will provide you with a starter ship (though some trainers may need more prodding than others). These ships will have all the basic parts you need to complete your first missions, but you may wish to buy others from the bazaar or your local shipwright. To load up these new parts, simply open up the "Manage" screen from any Starship Terminal and you'll be able to swap parts in and out.
New Ships, Parts, and Certifications:
As you advance, you will become certified to fly new ships and equip them with higher-level components. New ships are granted every fourth box of Pilot skills, starting with Box 2, while new components come every fourth box, starting with Box 3. As a general rule on ship parts, when you are trying to figure out "what stats are good and bad" it depends on the parts type and level. Here's a decent rule of thumb:
Lower number = better stat:
-
Droid interface speed
-
Firing rate (weapon and ordnance)
-
Energy consumption rate (boosters)
-
Reactor energy drain
-
Energy per shot (weapon)
-
Mass
Higher number = better stat:
-
Speed (engine and booster)
-
Pitch (engine)
-
Yaw (engine)
-
Roll (engine)
-
Damage - min and max (weapon and ordnance)
-
Effectiveness - armor and shield (weapon and ordnance)
-
Hitpoints
-
Armor points
-
Max energy (capacitors and boosters)
-
Recharge Rate (capacitors, boosters, and shields)
-
Accelleration (booster)
-
Power generation (reactor)
-
Front and Rear Hitpoints (shield)
Note, however, that unlike most aspects of the ground game, higher-level ships and components aren't necessarily better. They're often superior, but your choice of ship may depend heavily on your style as a Pilot, and if you're close to filling up your ship's mass capacity, it may be wise to use some lower-level (and thus lower mass) components to fill out your ship. These are both things you'll get a handle on as you continue to fly.
Your trainer will often give you reward items in the form of components or clothing once you talk to him after the successful completion of a mission. These are usually handed out without notification, so be sure to check your inventory for new loot after each mission to make sure you aren't accidentally selling valuable reward loot to the Chassis Dealer.
Missions, XP, and Training:
Pilot training isn't necessarily granted each time you fill your xp box, nor is it always necessary to have xp to train a new skill. At some tiers, advancement is based solely on missions completed, while at others you'll require both missions and xp. Requirements for training at each tier are as follows:
-
Tier 0 (Boxes 00-01): 4 starter missions
-
Tier 1 (Boxes 02-05): xp and missions
-
Tier 2 (Boxes 06-09): xp and missions
-
Tier 3 (Boxes 10-13): missions only
-
Tier 4 (Boxes 14-17): xp and missions
-
only
Master Box (Box 18): two missions
. Once you train to 4444 (Box 17), xp does not matter for you.
You do not have to grind the 7.5 million xp to master. You must complete the two master missions, no matter what, to master.
Here's a full list of all Trainers, their locations, and at what teir you will see them:
Rebel Recruiter Location: J‘pai Brek (-5072, -2343) Tyrena, Corellia
Arkon‘s Havok Squad:
-
Tier 1:
Captain Kreezo, Tyrena, Corellia (-5177, -2281)
-
Tier 2:
Lady Viopa, Nym‘s Stronghold, Lok (472, 4779)
-
Tier 3:
Lt. Col. Aqzow, Labor Outpost, Yavin IV (-6887, -5669)
-
Tier 4:
Warvog Arkon, Nym‘s Stronghold, Lok (407, 5090)
Vortex Squadron:
-
Tier 1:
V3-FX {droid}, Moenia, Naboo (4764, -4793)
-
Tier 2:
Brother Vrovel, Abandoned Rebel Base, Dantooine (-6826, 5539)
**
-
Tier 3:
Brother Ezkiel, Abandoned Rebel Base, Dantooine (-6824, 5547)
**
-
Tier 4:
Brother Extok Evin, Dearic, Talus (516, -3076)
Crimson Phoenix Squadron:
-
Tier 1:
Commander Da‘la Socuna, Mos Espa, Tatooine (-3002, 2202)
-
Tier 2:
Major Eker, Labor Outpost, Yavin IV (-6966, -5658)
-
Tier 3:
Arnecio Ulvaw‘op, Science Outpost, Dathomir (-115, -1578)
-
Tier 4:
General Ufwol, Rebel Outpost, Rori (3689 -6464)
**
Imperial Recruiter Location: Commander Landau (-5516, 4403) Theed, Naboo
Imperial Recruiter Location: Commander Zhanks (-3406, 3101) Kor Vella, Corellia
Imperial Recruiter Location: Commander Gunham (-1124, -3622) Bestine, Tatooine
Imperial Inquisition:
-
Tier 1:
Lt. Barn Sinkko, Kaadara, Naboo (5204, 6728)
-
Tier 2:
Inquisitor Fa‘Zoll, Imperial Retreat, Naboo (2444, -3896)
**
-
Tier 3:
Inquisitor Vrke, Imperial Retreat, Naboo (2382, -3970)
**
-
Tier 4:
Grand Inquisitor Ja‘ce Yiasa, Imperial Retreat, Naboo (2382, -3903)
**
Storm Squadron:
-
Tier 1:
Lt. Akal Colzet, Bestine, Tatooine (-1110, -3514)
-
Tier 2:
Commander Oberhaur, Bestine, Tatooine (-1125, -3590) [first half]
-
Tier 2:
Field Commander Alozen, Imperial Base, Yavin IV (3998, -6195) [second half]
-
Tier 3:
Captain Denner, Imperial Base, Yavin IV (4002, -6196)
-
Tier 4:
Admiral Kilnstrider, Research Outpost, Endor (3226, -3435)
Black Epsilon:
-
Tier 1:
Hakasha Sireen, Imp Outpost, Talus (-2183, 2259)
-
Tier 2:
Prisk Kith‘Vys, Imperial Outpost, Talus (-2187, 2260)
-
Tier 3:
Haymir Rendundi, Imperial Base, Yavin IV (4065, -6193)
-
Tier 4:
Insurgent, Imperial Outpost, Dantooine (-4206, -2435)
Freelancer Recruiter Location: Gil Burtin (-1174, -3647) Bestine, Tatooine
Smuggler Alliance:
-
Tier 1:
Dravis, Mos Eisley, Tatooine, Back room of cantina (3429, -4788)
-
Tier 2:
Shamdon Kree, Mos Eisley, Tatooine, Lucky Despot cantina (3385, -4605)
-
Tier 3:
Beissa, Jabba‘s Palace, Tatooine (-5953, -6285)
**
-
Tier 4:
Nirame Sakute, Dathomir Outpost, Dathomir (600, 3028)
RSF Squadron:
-
Tier 1:
Captain Dinge, Theed Palace, Naboo (-5497, 4575)
-
Tier 2:
Captain Kaydine, Theed Palace, Naboo (-5496, 4630)
-
Tier 3:
Commander Dulios, Theed Palace, Naboo (-5535, 4680)
-
Tier 4:
Diness Imler, Theed Palace, Naboo (-5450, 4680)
Corsec Squadron:
-
Tier 1:
Sergeant Rhea, Coronet, Corellia (-275, -4730)
-
Tier 2:
Captain Rihhk, Coronet, Corellia (-275, -4741)
-
Tier 3:
Commander Ramna, Nym‘s Stronghold, Lok (527, 5061)
-
Tier 4:
Adwan Turoldine, Mining Outpost, Dantooine (596, -2488)
Master Missions (Corvettes):
-
Rebel:
Admiral Willham Burke, Doaba Guerfel, Corellia (3080, 5204)
-
Imperial:
Grand Admiral Niall Declann, Theed Palace, Naboo (-5526, 4618)
-
Smuggler‘s Alliance goes to the Rebel admiral, RSF to the Imperial admiral, and CorSec may choose either.
Changing Pilot Factions:
To switch squadrons or if, for some reason, you need to restart your current squadron, follow these steps:
-
Make sure you have at least one open slot for your new starter ship.
-
Not your trainer, but the recruiter.
Go see the Pilot recruiter for your faction.
For instance, if you're a Freelance Pilot, you'll need to see Gil Burton in the Bestine hotel on Tatooine.
-
"Resign" from your current Pilots' faction.
-
Go see a faction recruiter (if needed) to quit your ground-based faction. [You must be a combatant and not "on leave" to resign from a ground faction.]
-
You will need to start over with your new Pilot squadron from scratch. Your space xp will be set to zero when you resign your Pilot skills.
NOTE: For each Pilot faction (Alliance, Imperial, Freelance) that you master a squadron in, you will receive the "Previous Faction Master Bonus". The maximum bonus is 3x, if you master at least one squadron from each faction. This bonus adds to the normal Space Combat Experience you earn, for a total xp of 1x/kill for 0 faction masteries, 2x/kill for 1 faction mastery, 3x/kill for 2 faction masteries, and 4x/kill for 3 faction masteries. You don't get a bonus for each squad mastered, but for completing any of the three squads in a given faction.
The final mission to achieve mastery in your Pilot squadron is to destroy a Corellian Corvette. This mission can be extremely challenging for new Pilots, but once you get the 'hang' of it you will find a pattern, and eventually, find it quite easy (hang in there).
To Complete the Corvette Master Mission:
-
before
You must have the Corvette master mission in your datapad. Check your datapad
leaving the Admiral. If you don't have it, Converse with the Admiral again.
-
You must be in Kessel and within range when the Corvette is destroyed.
-
A member of your group must have done damage to a subsystem on the Corvette at some point on the mission.
-
You will NOT have to go to the trainer and retake the mission if you die during your Vette run. Repair and get right back out to Kessel to continue the fight.
To Do Damage to a Subsystem:
-
Target the Corvette.
-
[
Select a subsystem using the '
' and '
]'
keys.
-
you
Hit that specific area with your guns or a missile. For those on your first trip, this can be tougher then you think. Watch for the xxx% of the system to go down when
hit it.
NOTE: I highly recommend approaching the corvette from the "top" where you'll see Weapon 5. Target it and make a single pass on it. You may be hit once, possibly twice, but it will be disabled within one or two shots. DO NOT pass by the corvette, or you will expose yourself to SIX more guns and instant death under it's belly. Instead, as you make your pass on Weapon 5, bank upward and away from the corvette to stay "on top".
A guide to all ships and their basic stats:
Stat definitions and how to determine them:
Spdx (Speed Multiplier): Determined by dividing the maximum speed seen in space by engine top speed, then dividing by 10.
Acc: How quickly you gain speed. Determined by taking maximum Engine Speed without overload divided by the time it takes to go from full stop to full throttle.
Dec: How quickly you lose speed (slow down). Determined by taking maximum Engine Speed without overload divided by the time it takes to go from full throttle to full stop.
Pitch/Yaw/Roll: Measurement of how quickly your ship responds to commands to change direction in a Nose Up/Nose Sideways/Rotational direction. Determined by converting the values found in the upper left-hand corner of the V screen (Component Management Screen) in space from Radians to Degrees (1 radian = 57.296 degrees). PYR values on engines are listed in Degrees.
Rebel:
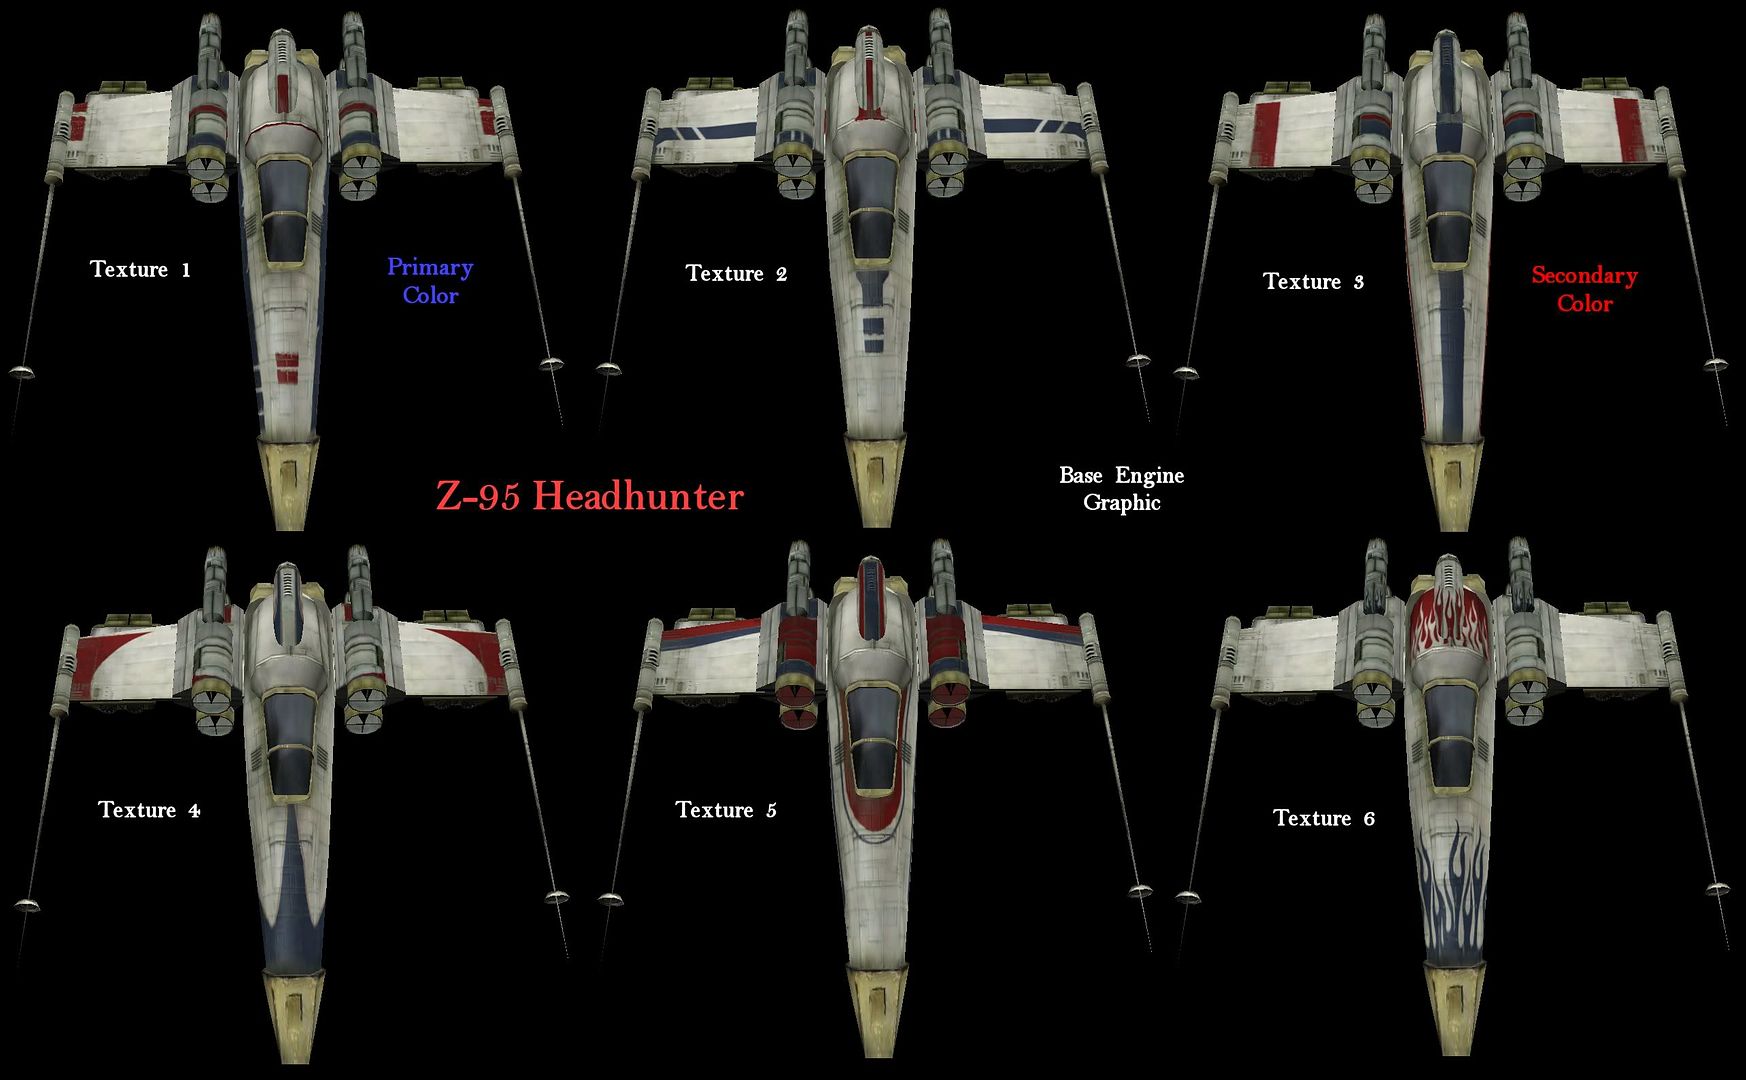
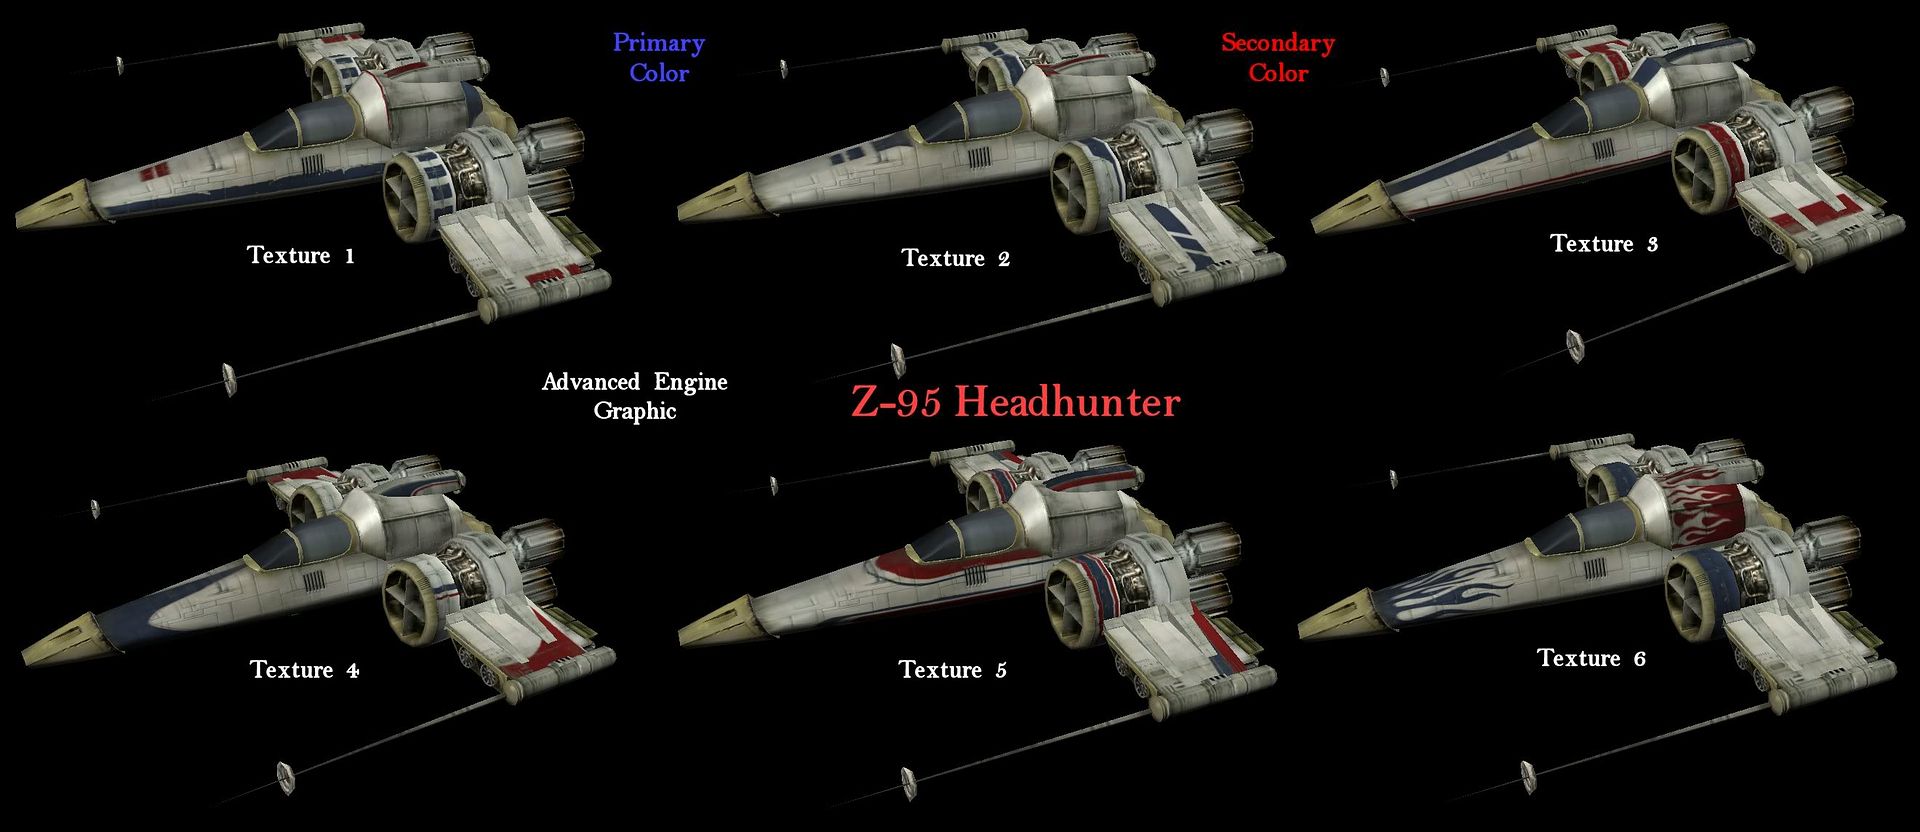
- Z-95:
(Tier 0)
5k Resources ~12k mass [P: 1 Gun] 1 missile
[Spdx 0.95 Acc 500 Dec 500 Pitch 600 Yaw 600 Roll 300]
Textures 1-6 w/Base Engine Graphic
Textures 1-6 w/Advanced Engine Graphic
Texture 7 (Currently broken)
Texture 8 (Currently broken)
(Tier 0) Heavy Z-95: 50k Resources ~95k mass [P: 1 Gun] 1 missile
[Spdx 0.95 Acc 500 Dec 500 Pitch 600 Yaw 600 Roll 300]
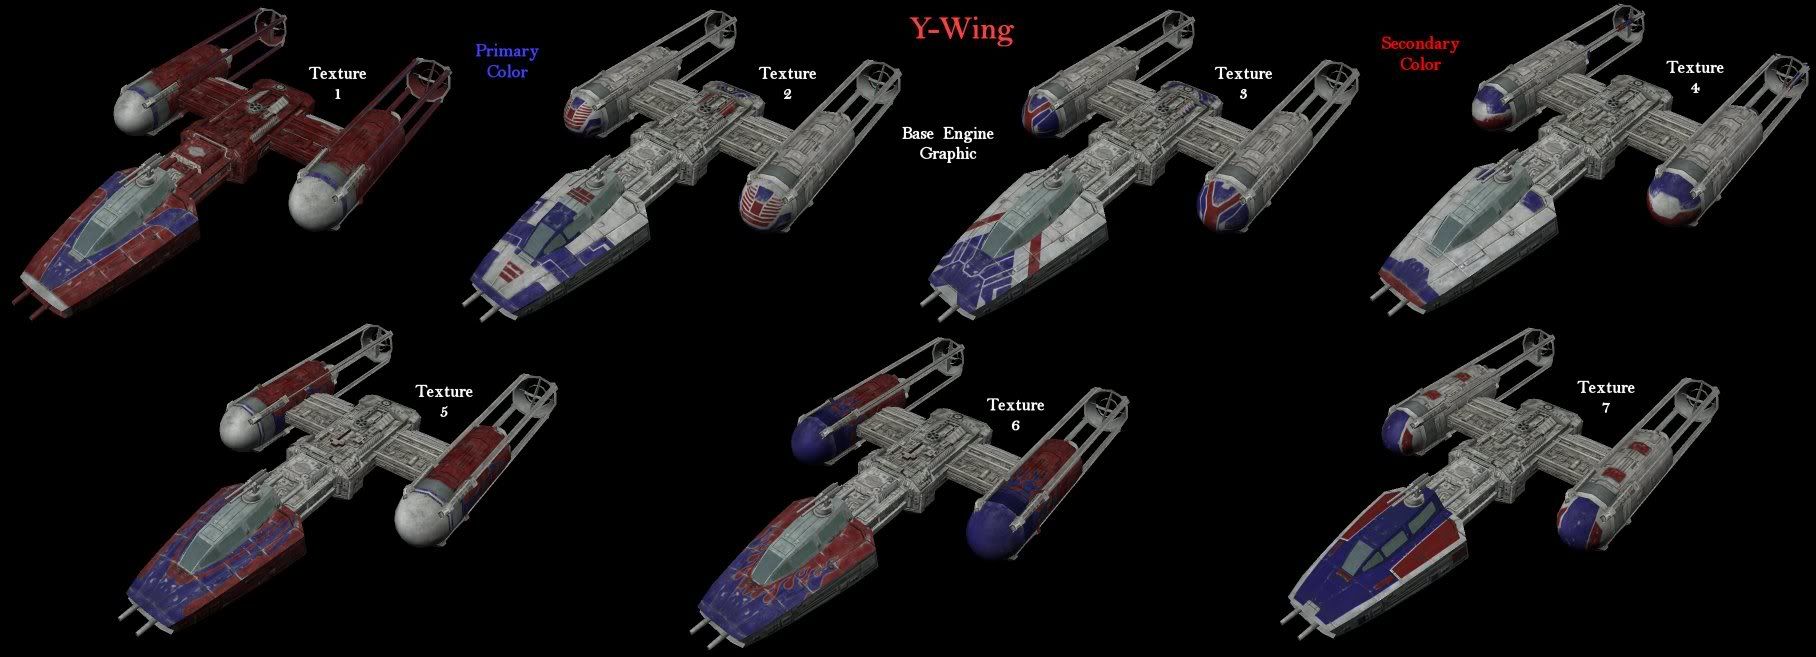
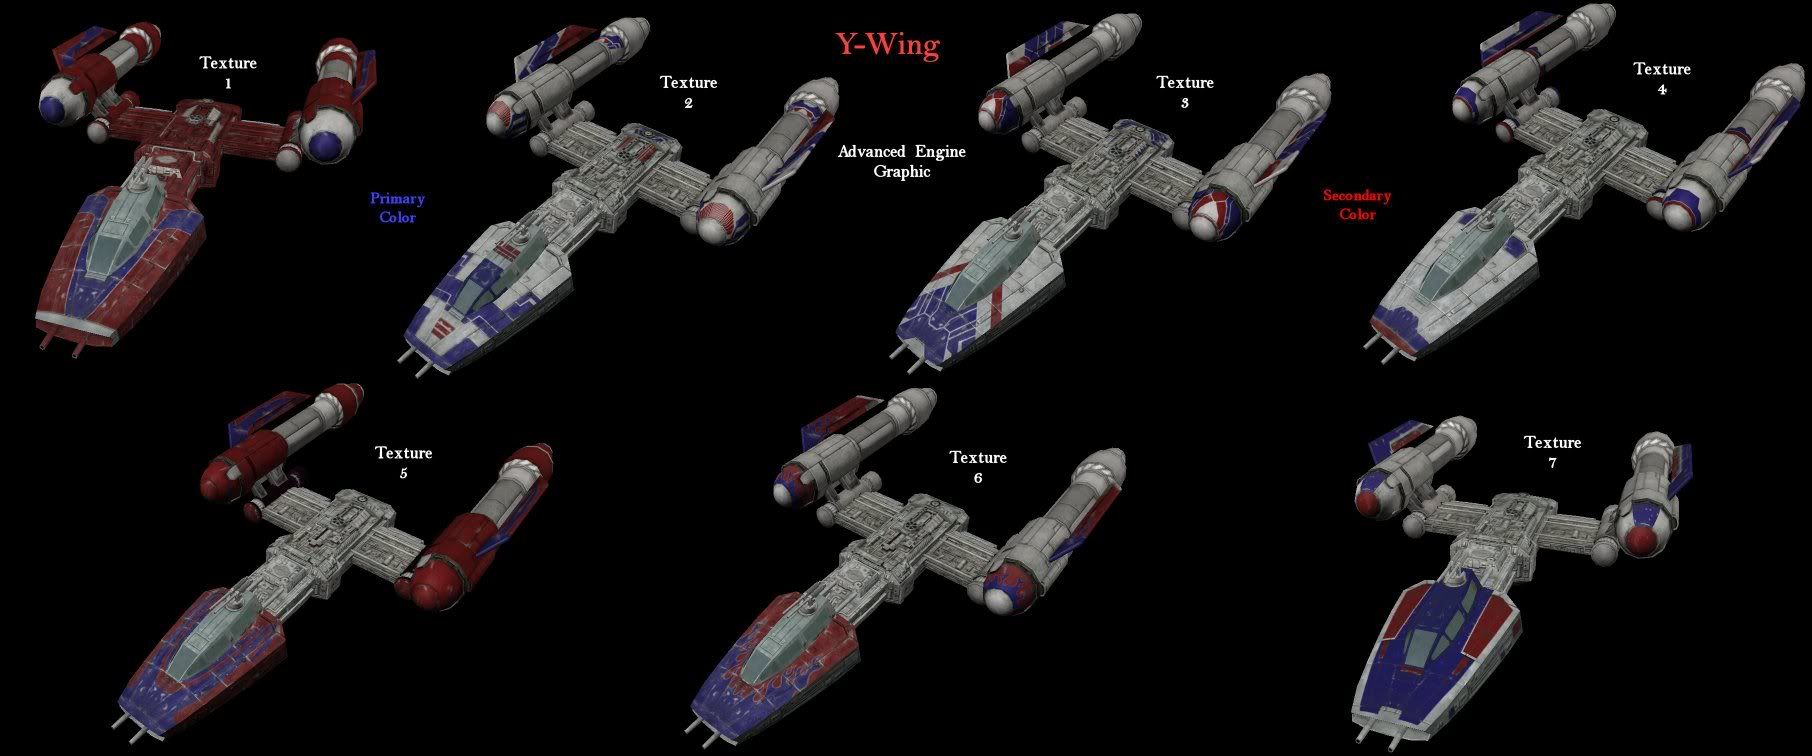
- Y-Wing:
(Tier 1)
15k Resources ~150k mass [P: 1 Gun T:+1] 1 missile
[Spdx 0.85 Acc 150 Dec 250 Pitch 80 Yaw 80 Roll 40]
All 7 Textures w/Base Engine Graphic
All 7 Textures w/Advanced Engine Graphic
(Tier 2) Y-Wing LP: 30k Resources ~170k mass [P: 2 Guns] 2 missiles
[Spdx 0.85 Acc 100 Dec 200 Pitch 70 Yaw 70 Roll 35]
All 7 Textures w/Base Engine Graphic
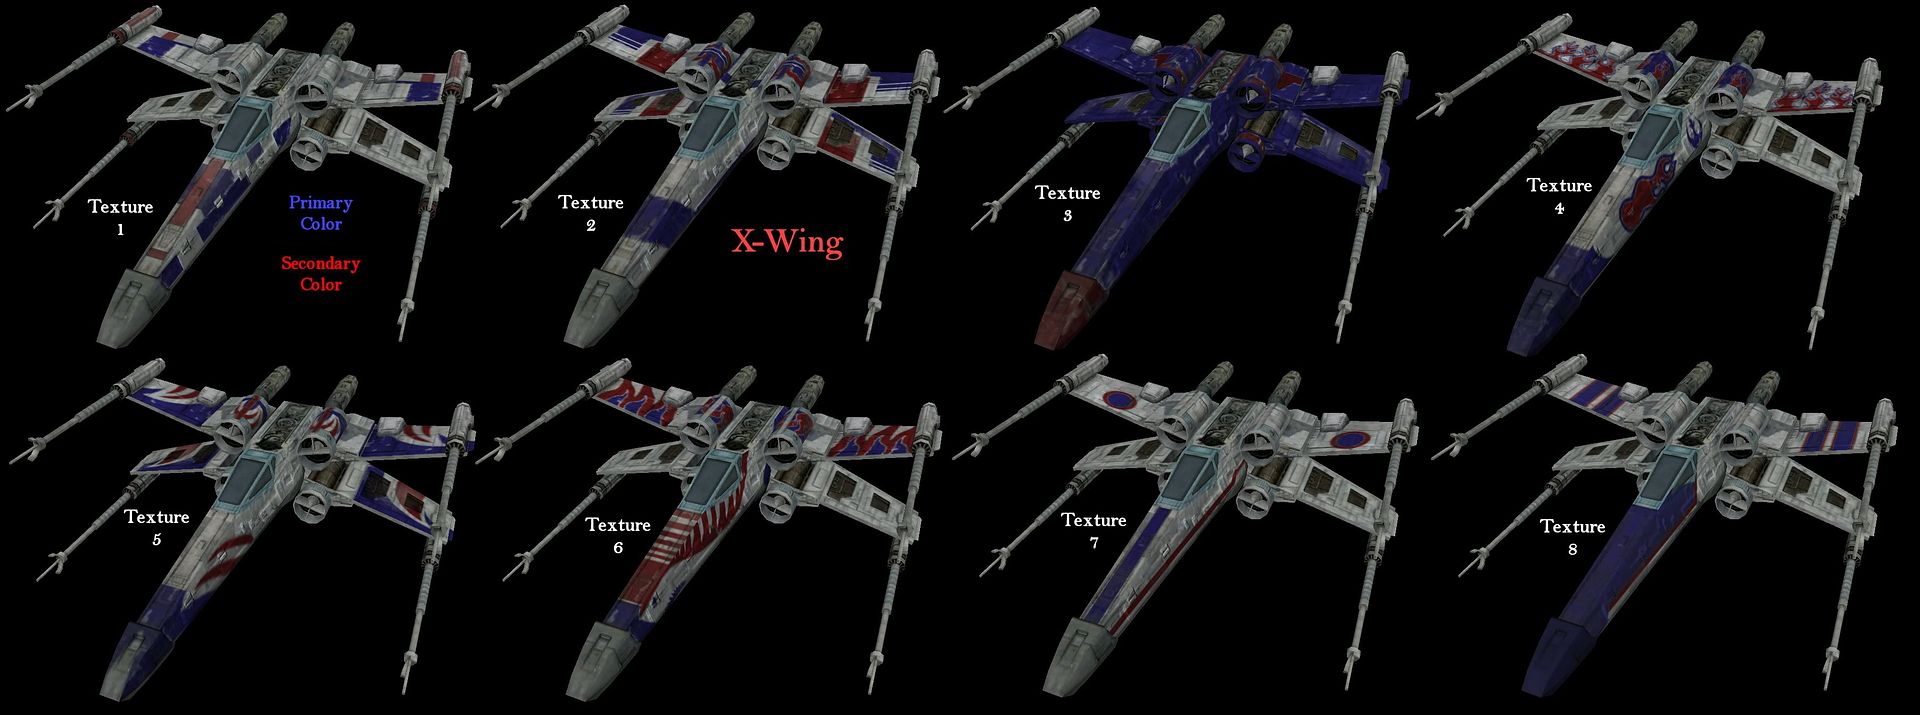
All 7 Textures w/Advanced Engine Graphic- X-Wing:
(Tier 3)
60k Resources ~100k mass [P: 3 Guns] 1 missiles
[Spdx 0.95(Foils Closed) 0.90(Foils Open) Acc 250 Dec 300 Pitch 300 Yaw 200 Roll 150]
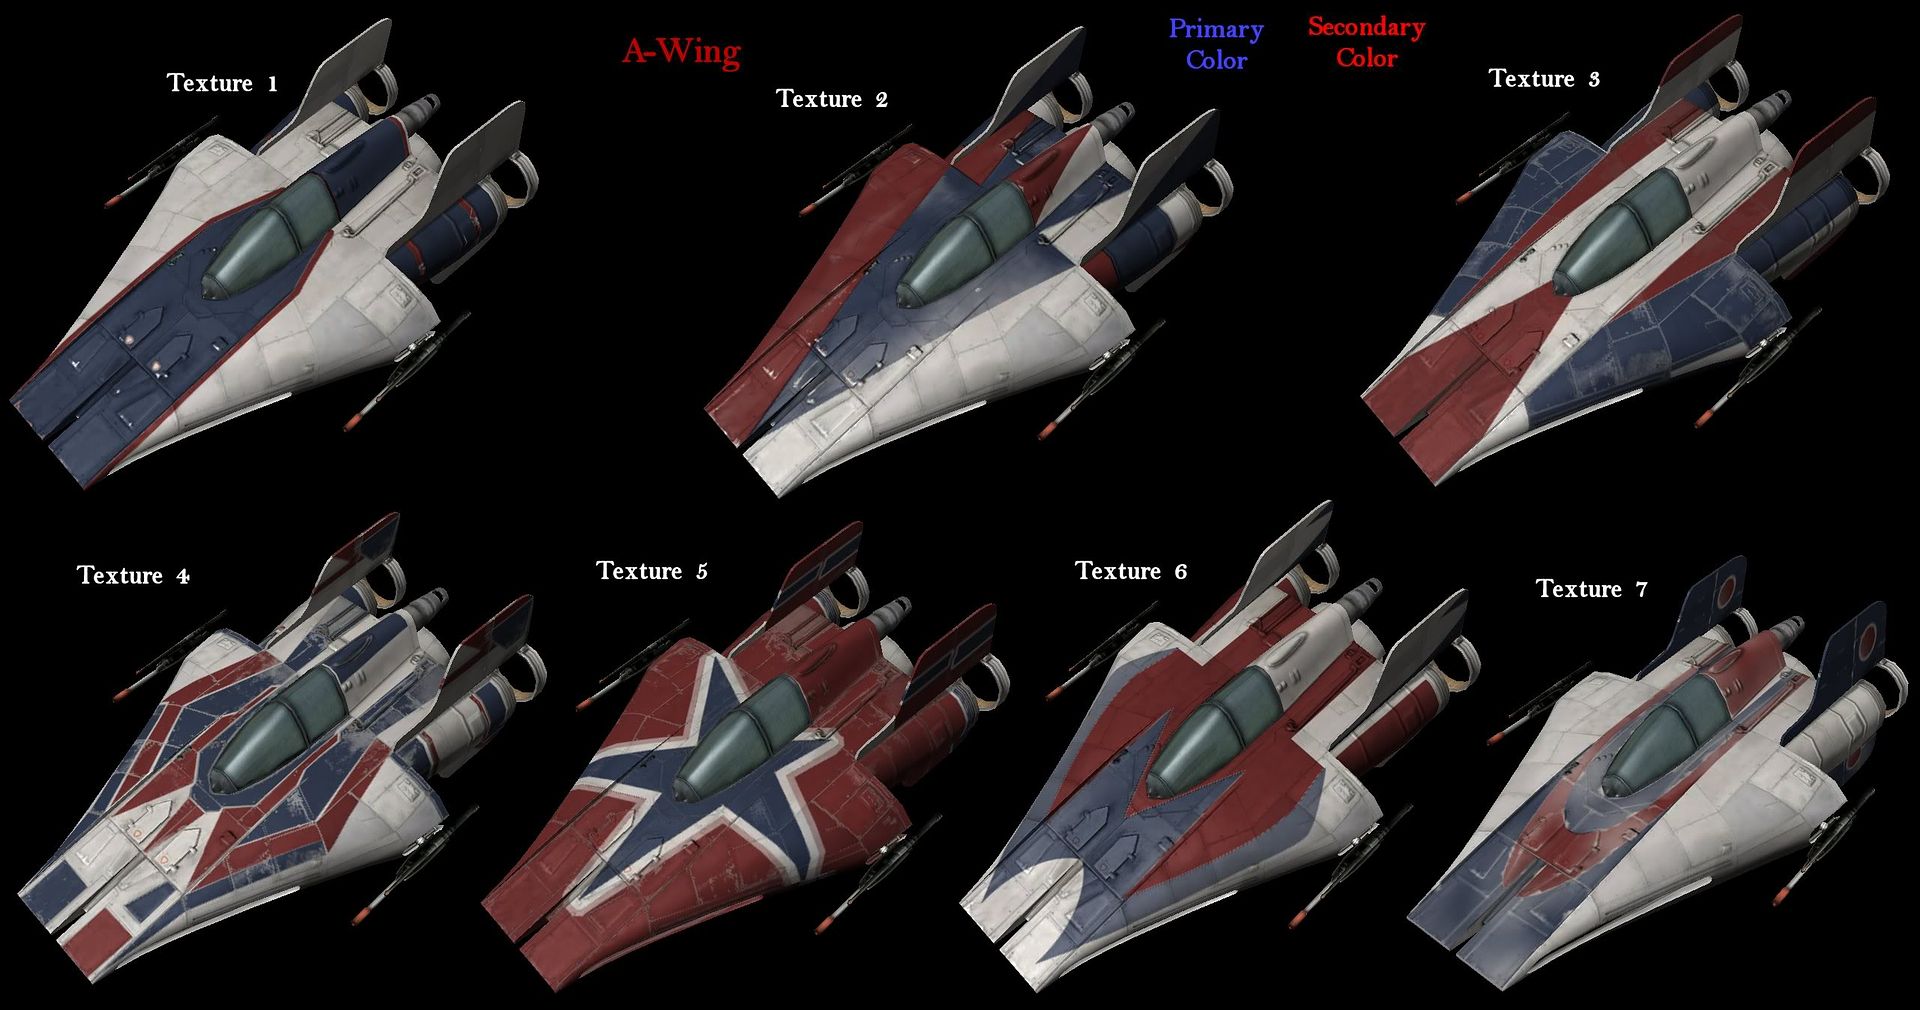
All 8 Textures - A-Wing:
(Tier 4)
80k Resources ~65k mass [P: 1 Gun] 1 missile
[Spdx 1.00 Acc 400 Dec 600 Pitch 250 Yaw 250 Roll 125]
All 7 Textures
Advanced Engine Graphic (broken as of Chapter 2.3)
Advanced Engine Graphic (new in Chapter 8)
(Tier 4) Advanced X-Wing: N/A Resources 180k mass [P: 3 Guns] 1 missile
[Spdx 0.95(Foils Closed) 0.90(Foils Open) Acc 250 Dec 300 Pitch 300 Yaw 200 Roll 150]
The Advanced X-Wing is a quest-given ship.
The Advanced X-Wing has the same textures as the standard X-Wing.
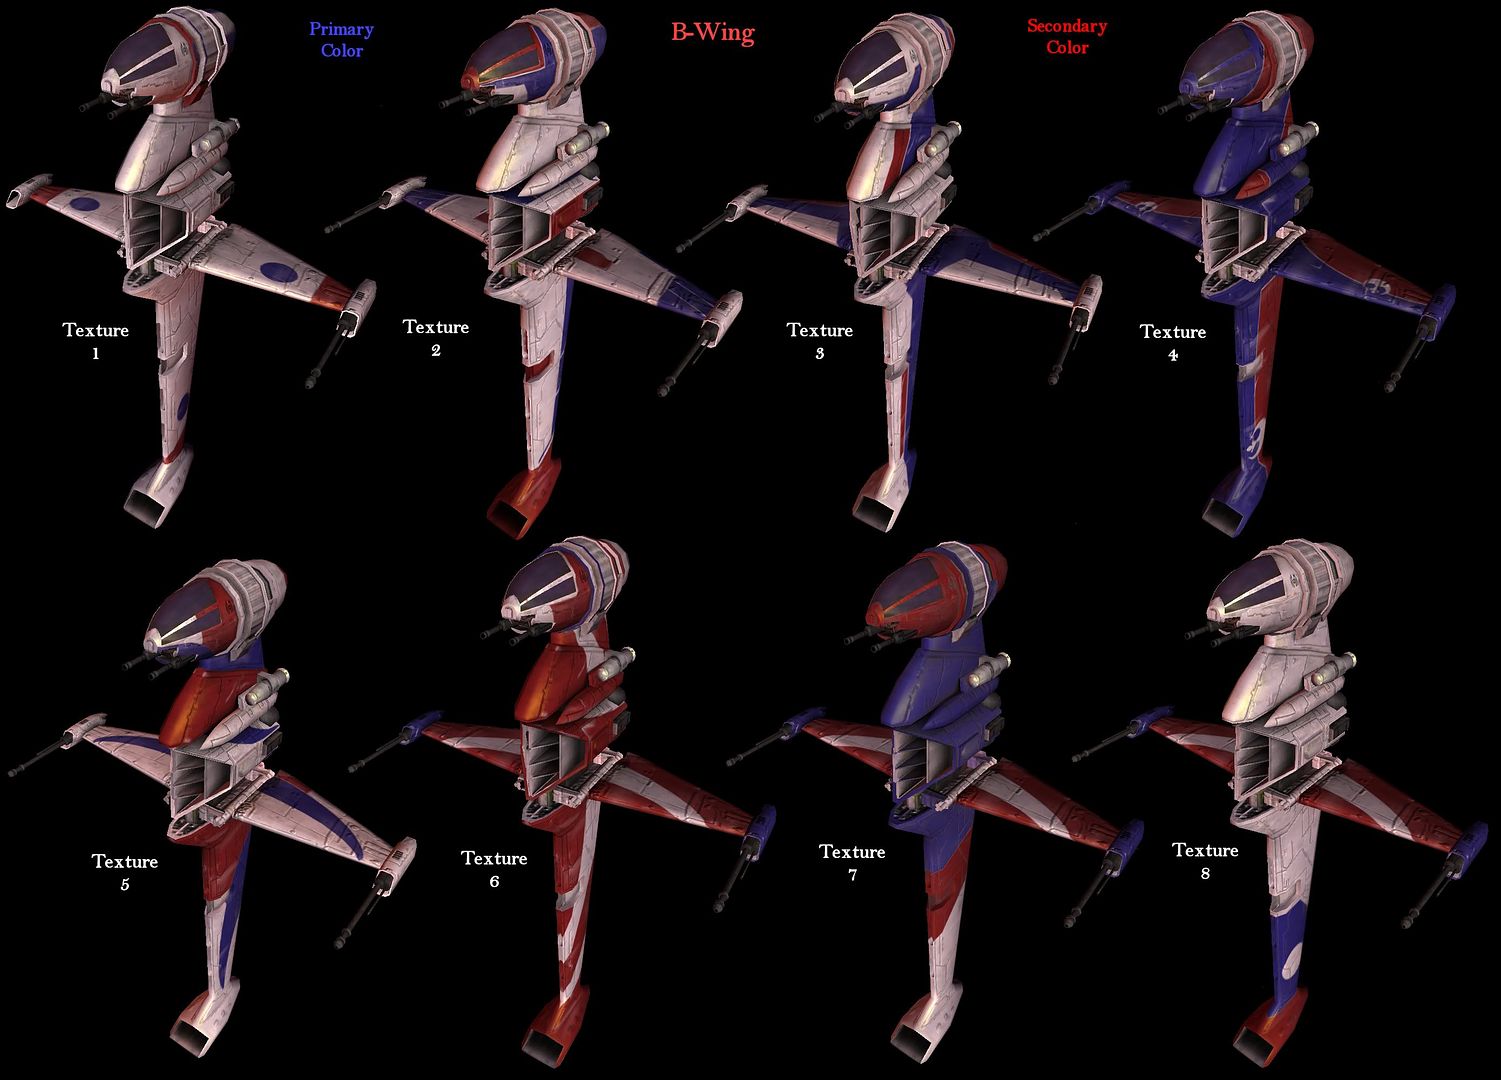
- B-Wing:
(Tier 5)
150k Resources ~240k mass [P: 4 Guns] 2 missiles
[Spdx 0.85(Foils Closed) 0.80 (Foils Open) Acc 50 Dec 100 Pitch 35 Yaw 35 Roll 17]
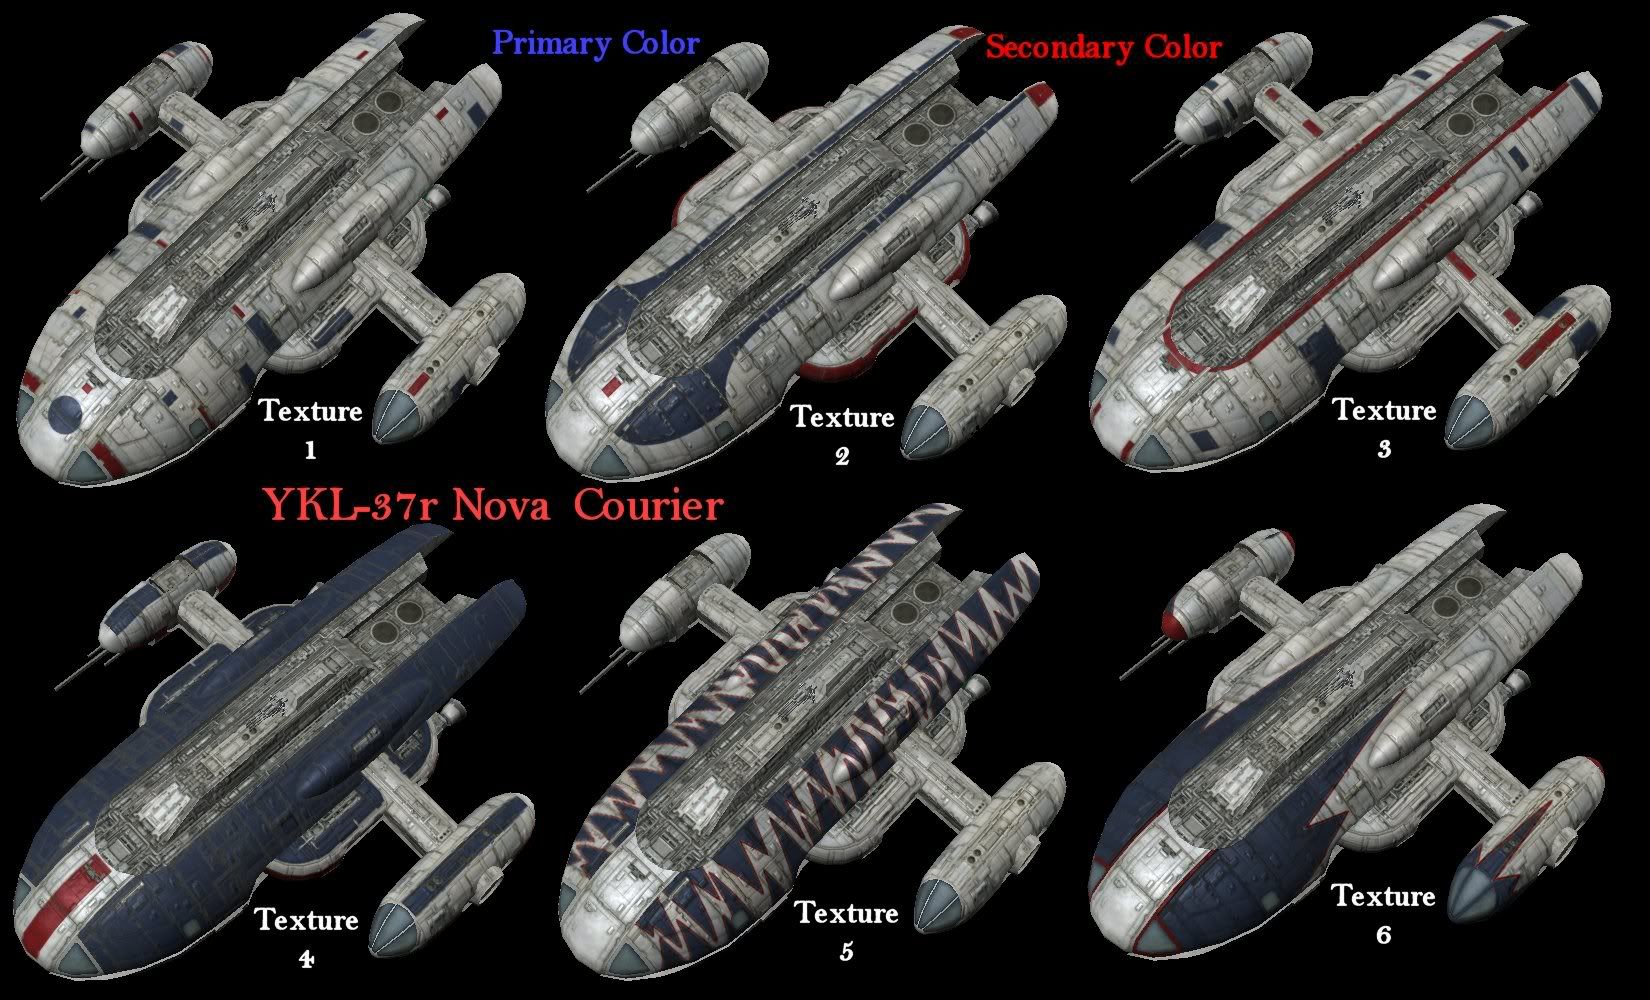
All 8 Textures - Nova Courier:
(Tier 5) YKL-37r
150k Resources ~5m mass [P: 0 Guns T:+2] 3 missiles
[Spdx 0.80 Acc 50 Dec 50 Pitch 50 Yaw 50 Roll 40]
All 6 Textures
(Tier 5) Incom X4 Gunship: 150k Resources ~2.75m mass [P: 2 Guns T:+6]
[Spdx 0.60 Acc 100 Dec 100 Pitch 10 Yaw 10 Roll 10]
Cannot be painted or textured.
Freelancer:
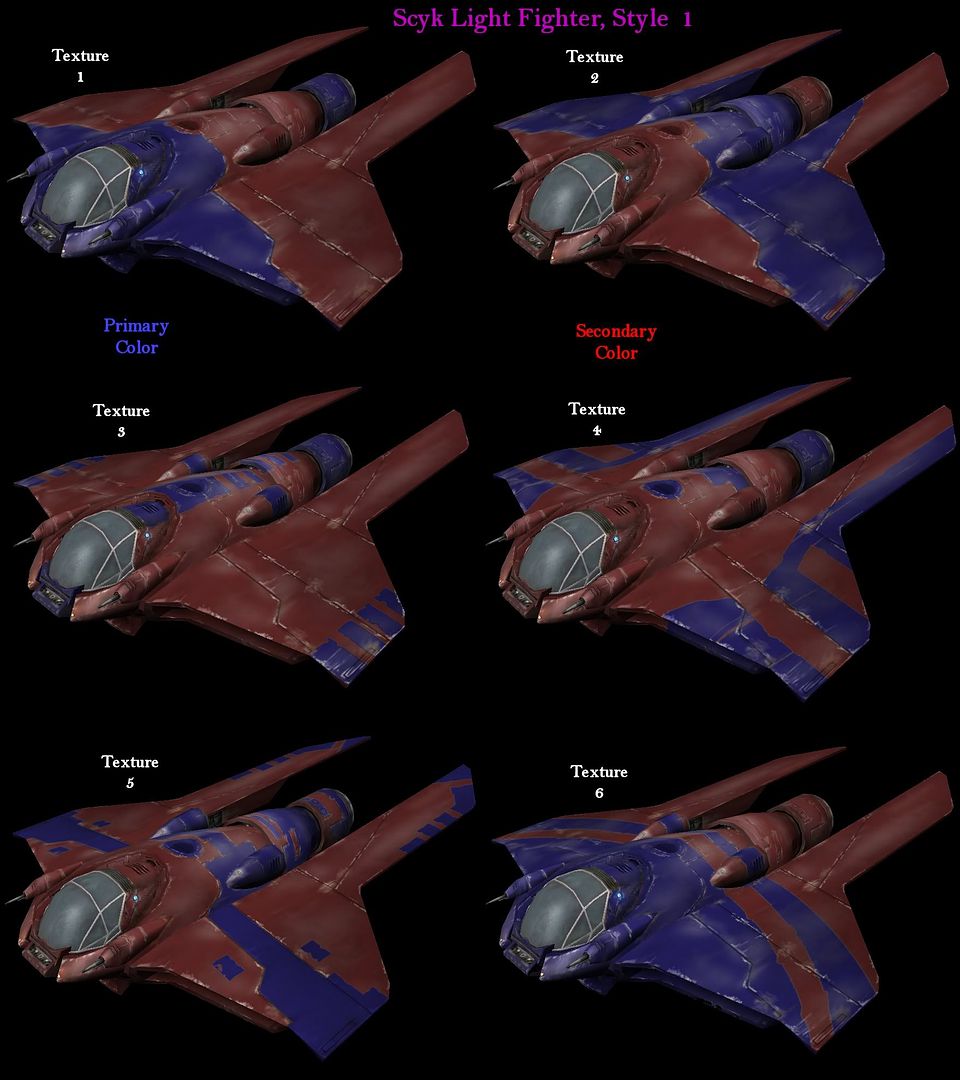
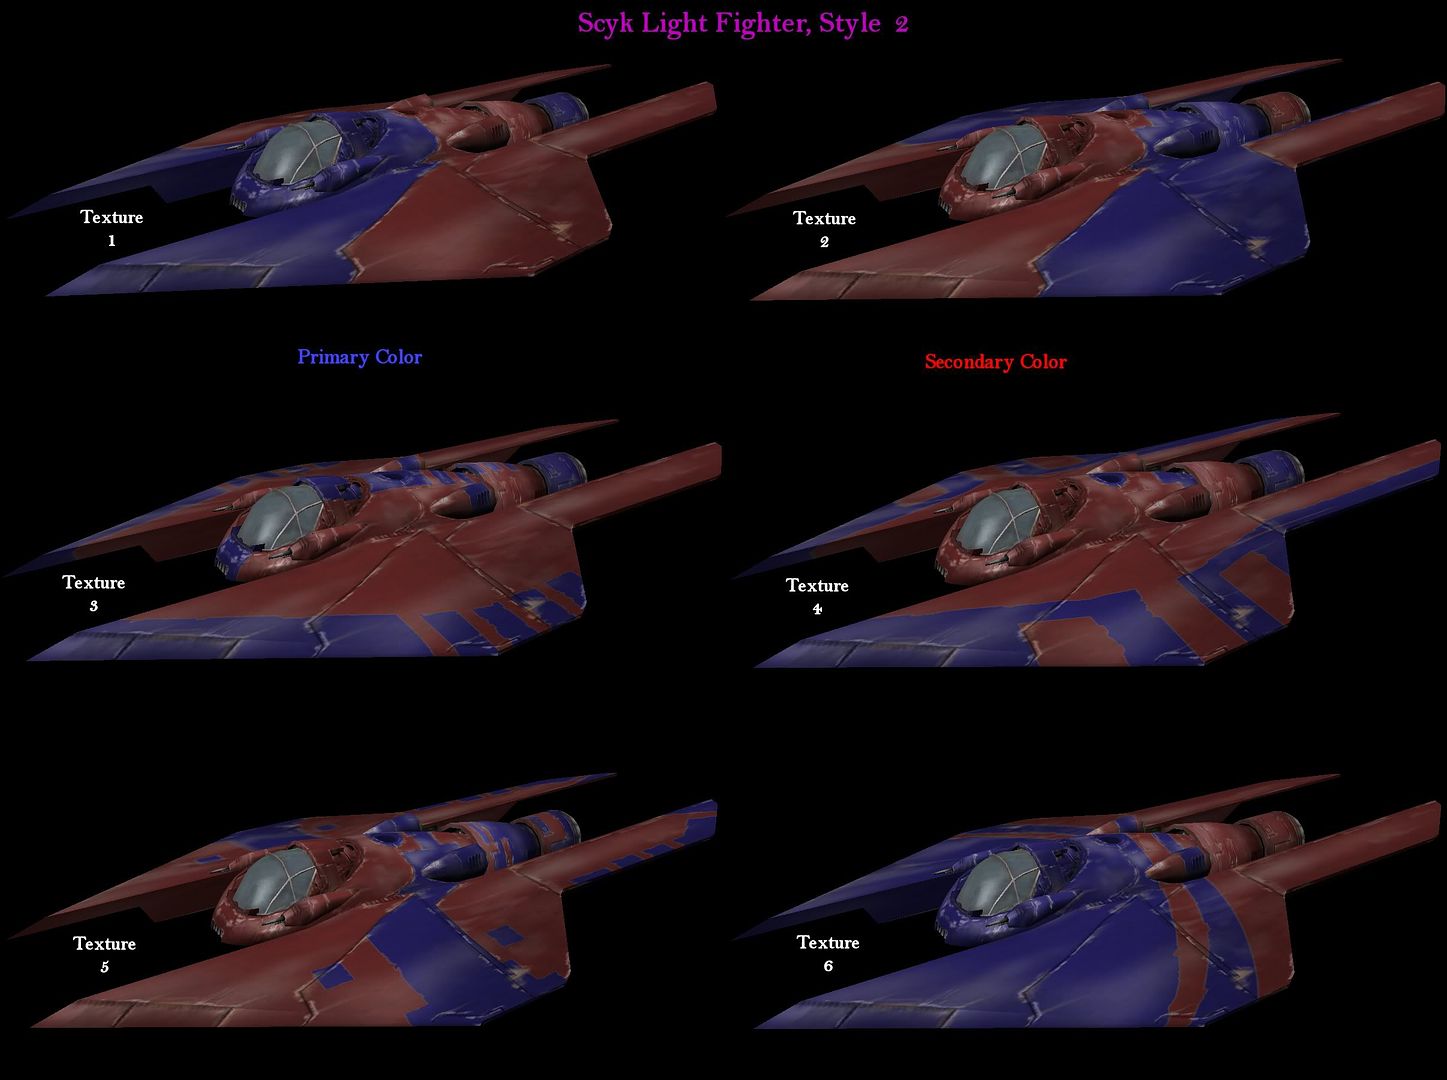
- M3-A "Scyk" Light Fighter:
(Tier 0)
5k Resources ~12k mass [P: 1 Gun] 1 missile
[Spdx 0.95 Acc 500 Dec 500 Pitch 600 Yaw 600 Roll 300]
Style 1 w/All 6 Textures
Style 2 w/All 6 Textures
(Tier 0) Heavy Scyk: 50k Resources ~95k mass [P: 1 Gun] 1 missile
[Spdx 0.95 Acc 500 Dec 500 Pitch 600 Yaw 600 Roll 300]
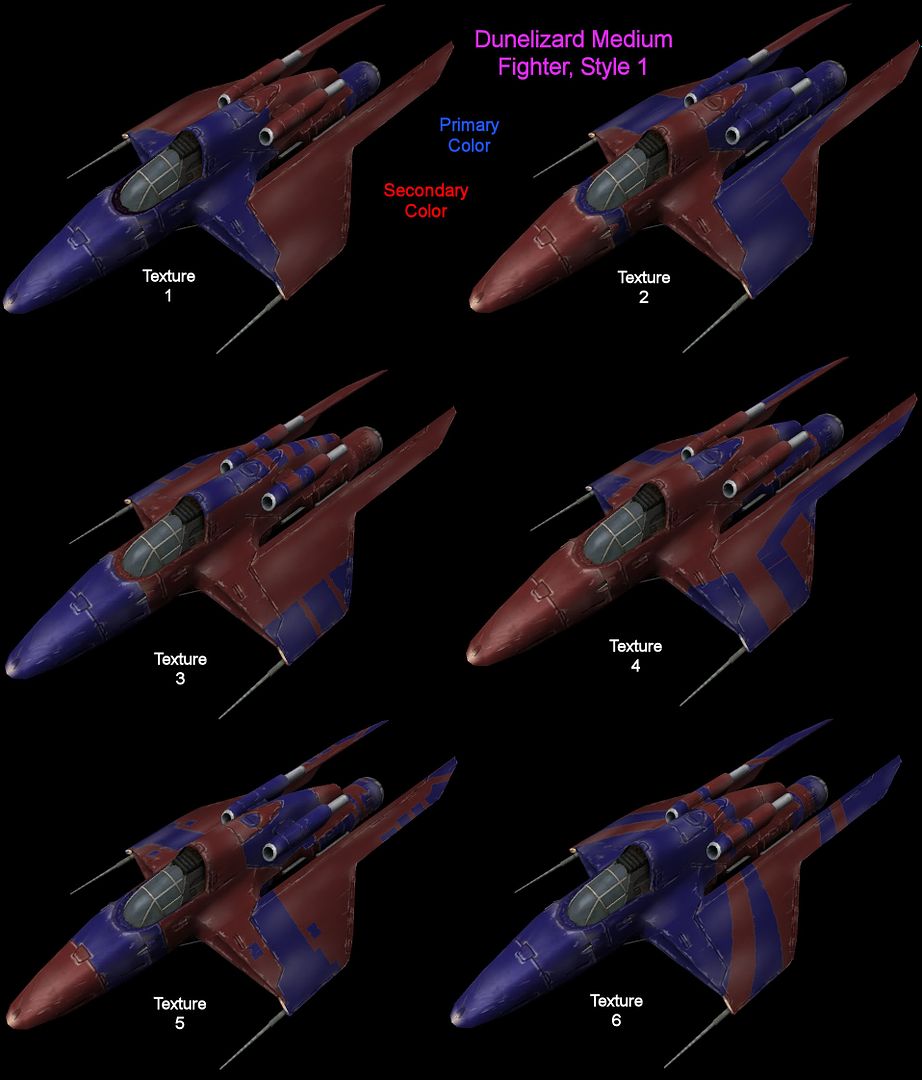
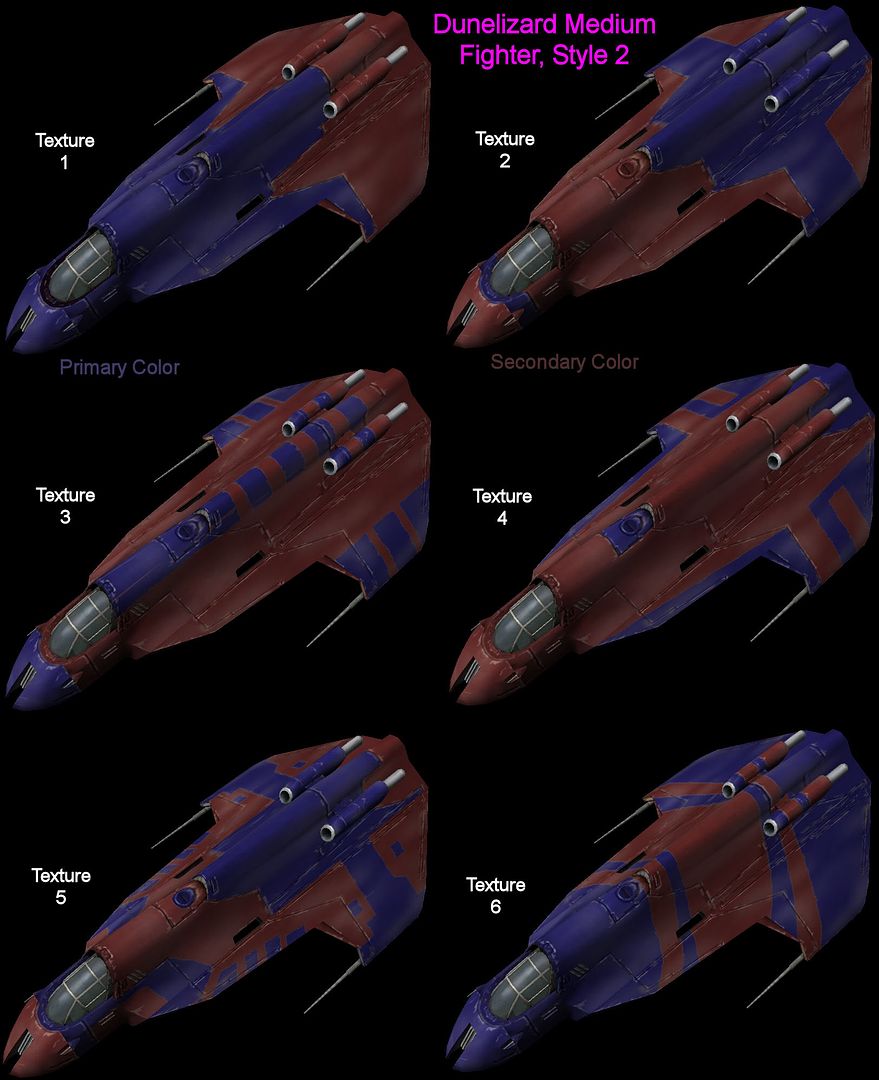
- G1-M4-C "Dunelizard" Medium Fighter:
(Tier 1)
15k Resources ~85k mass [P: 2 Guns] 1 missile
[Spdx 0.95 Acc 300 Dec 300 Pitch 300 Yaw 300 Roll 150]
Style 1 w/All 6 Textures
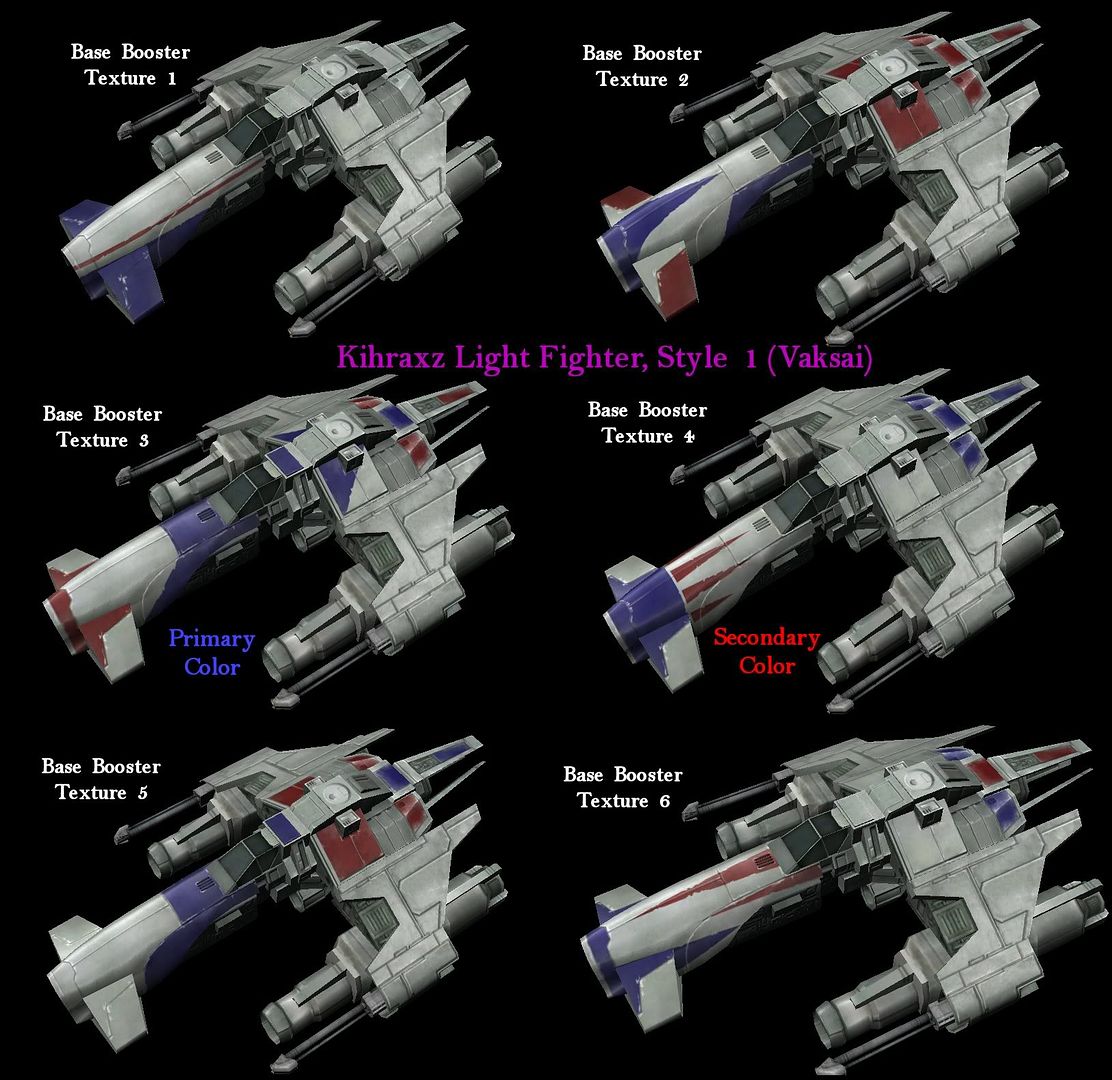
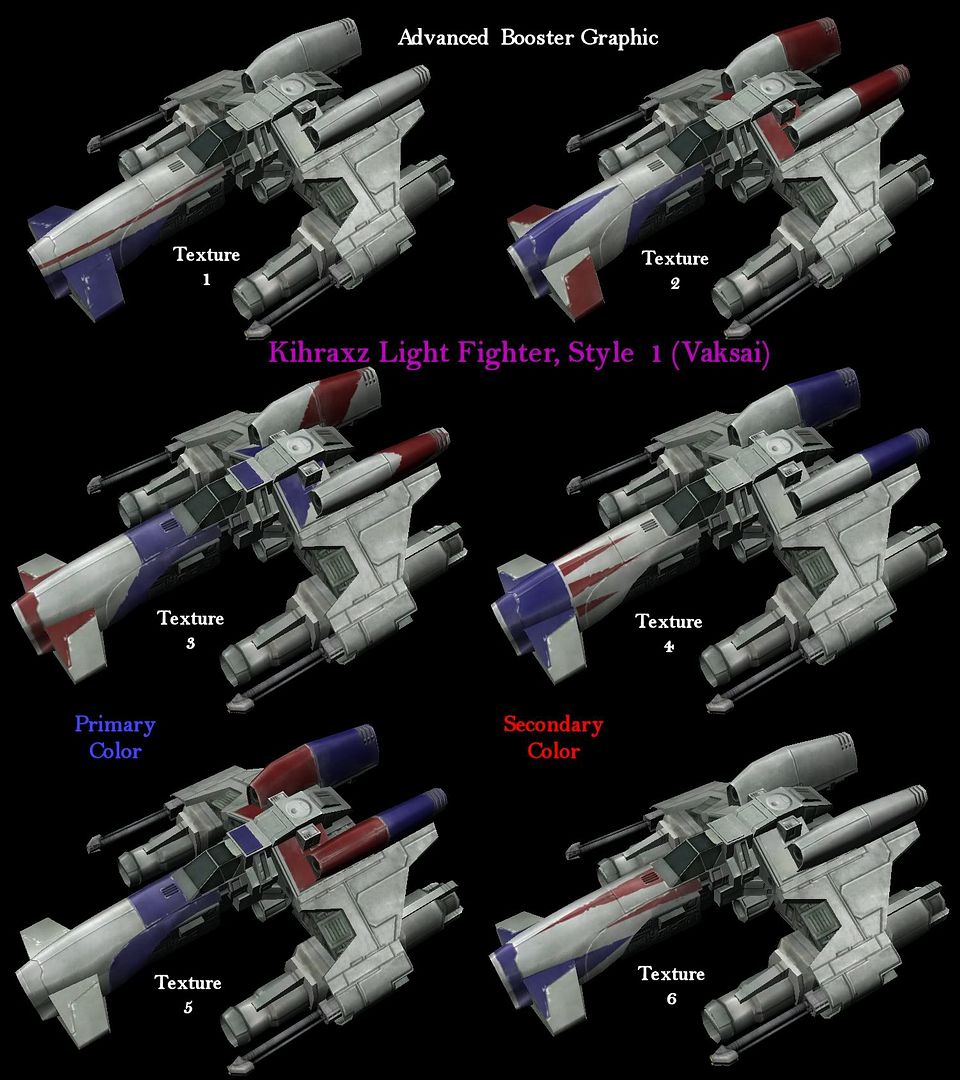
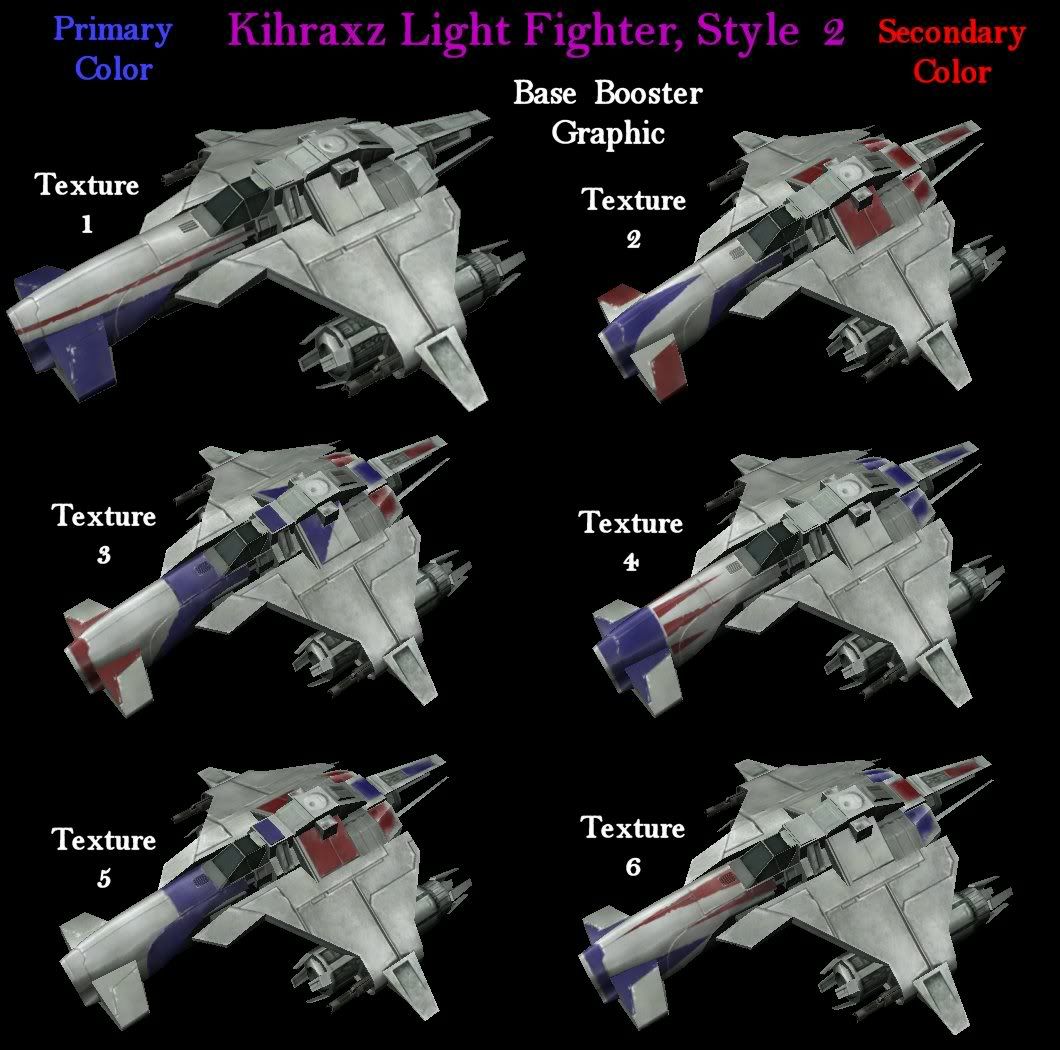
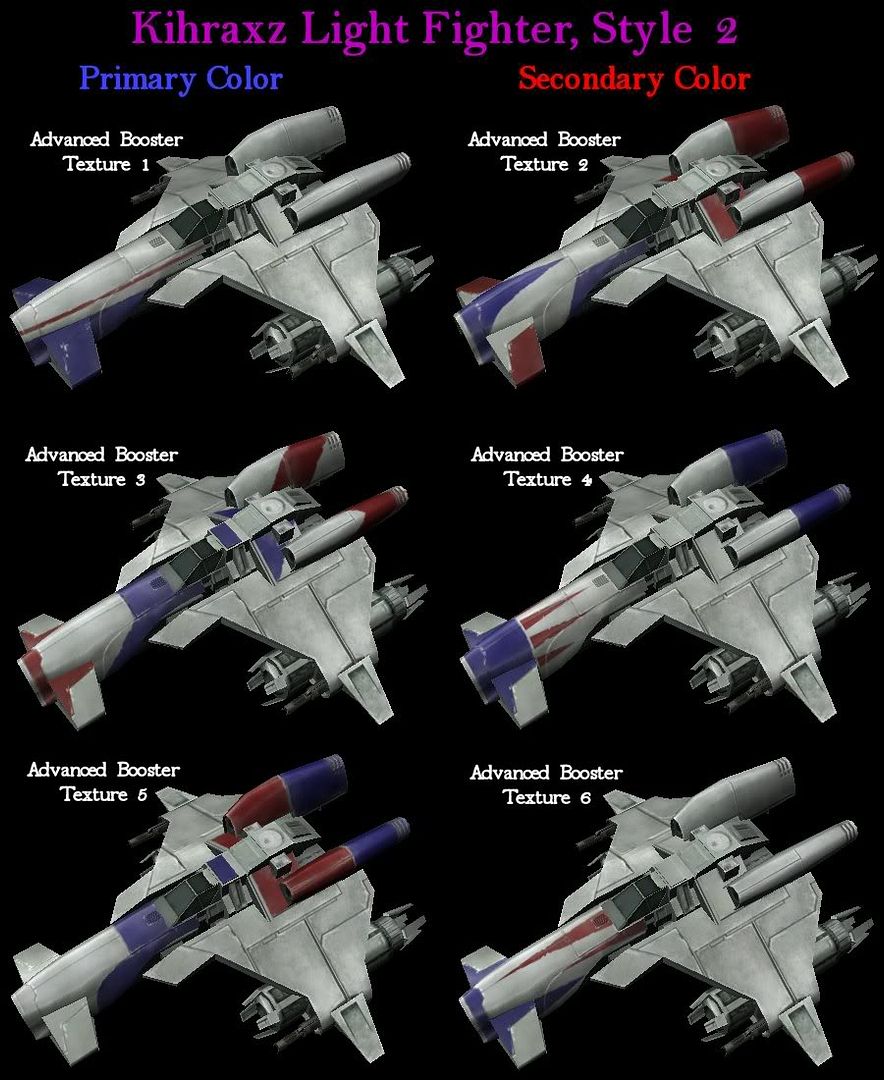
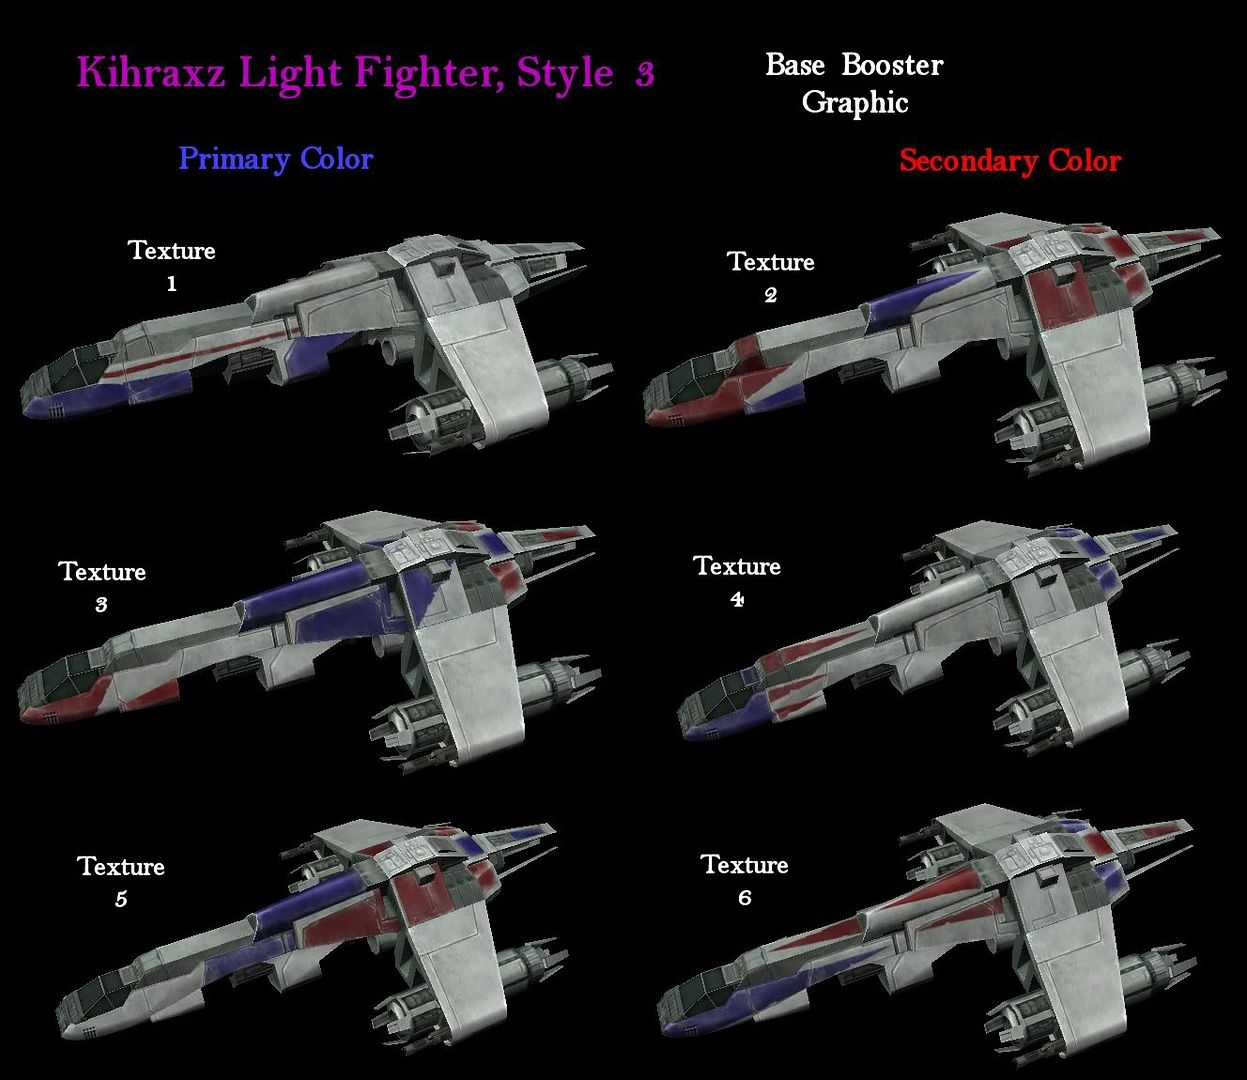
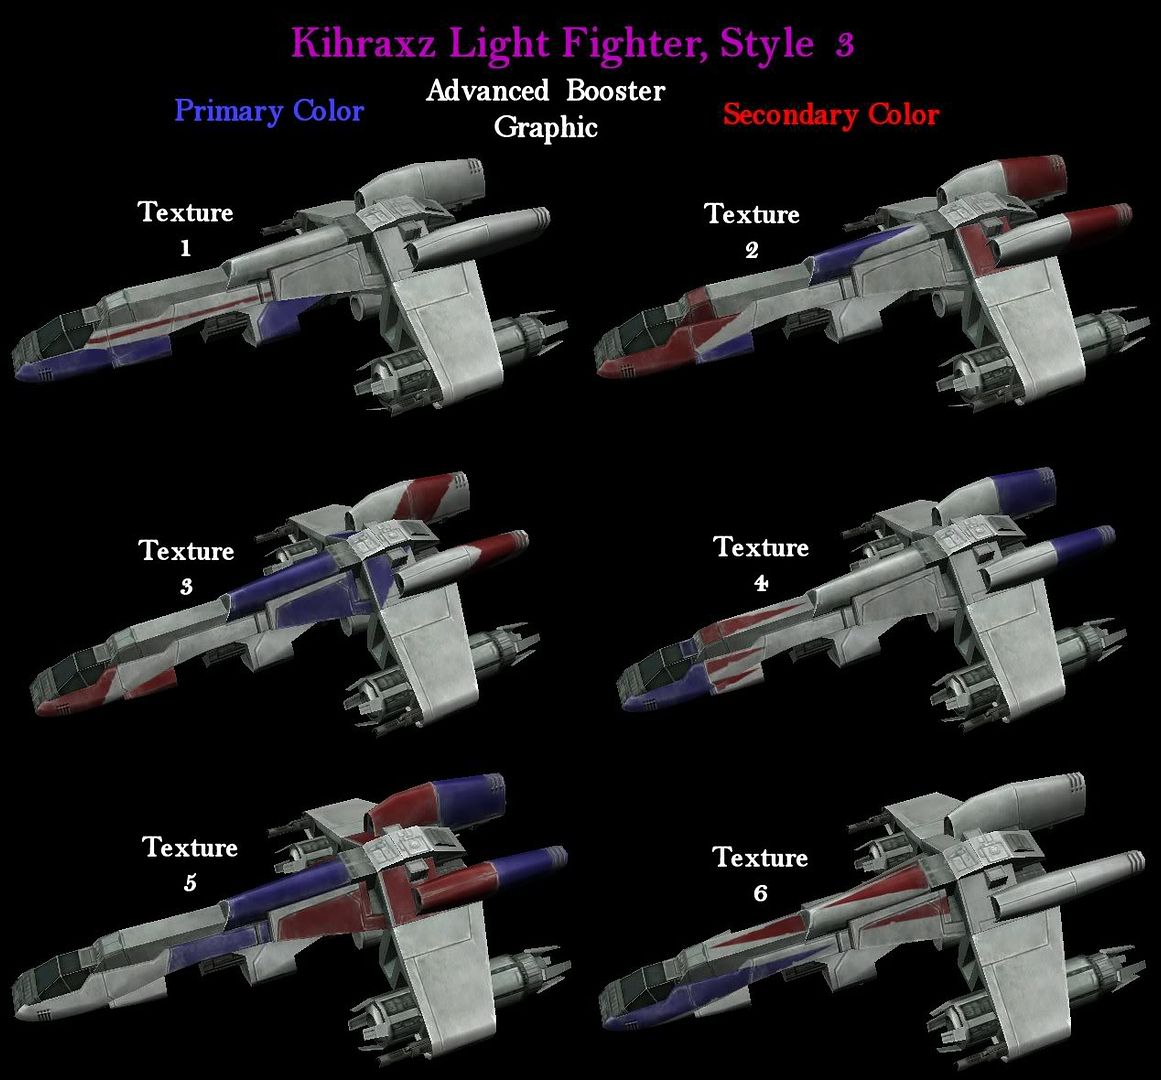
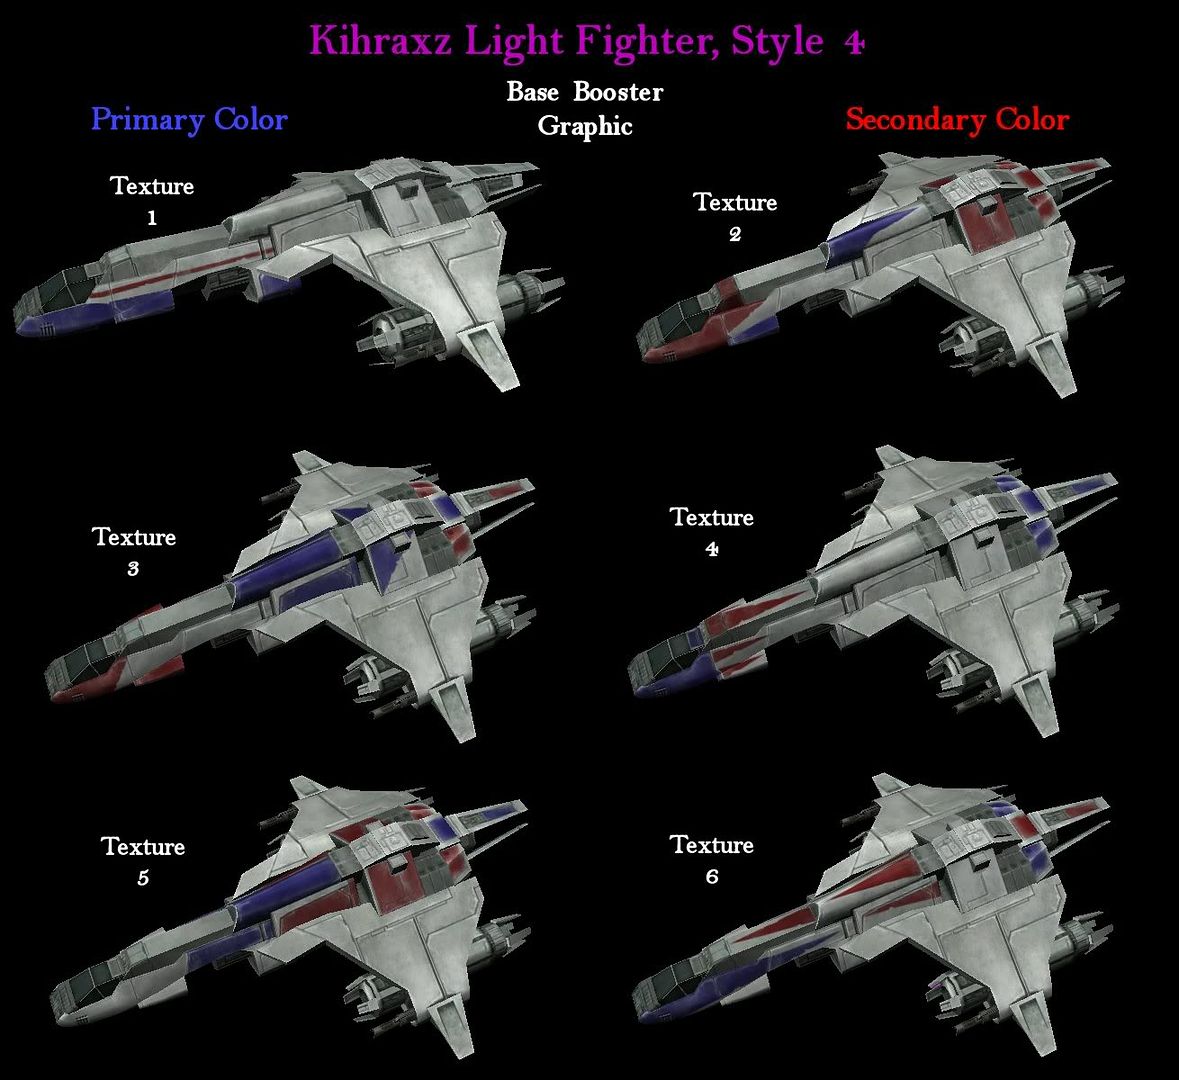
Style 2 w/All 6 Textures - Kihraxz Assault Fighter:
(Tier 2)
30k Resources ~40k mass [P: 1 Gun] 1 missile
[Spdx 1.00 Acc 350 Dec 350 Pitch 400 Yaw 400 Roll 200]
Style 1 w/Base Bstr Graphic w/All 6 Textures
Style 1 w/Adv Bstr Graphic w/All 6 Textures
Style 2 w/Base Bstr Graphic w/All 6 Textures
Style 2 w/Adv Bstr Graphic w/All 6 Textures
Style 3 w/Base Bstr Graphic w/All 6 Textures
Style 3 w/Adv Bstr Graphic w/All 6 Textures
Style 4 w/Base Bstr Graphic w/All 6 Textures
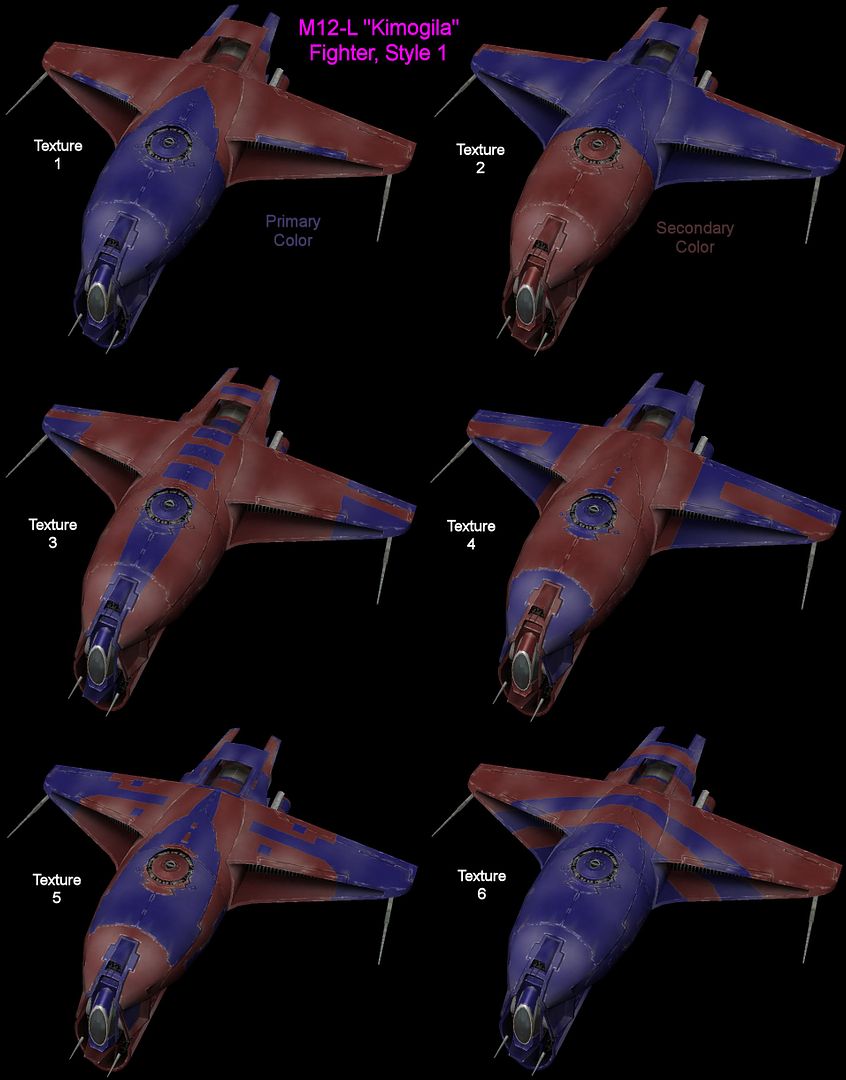
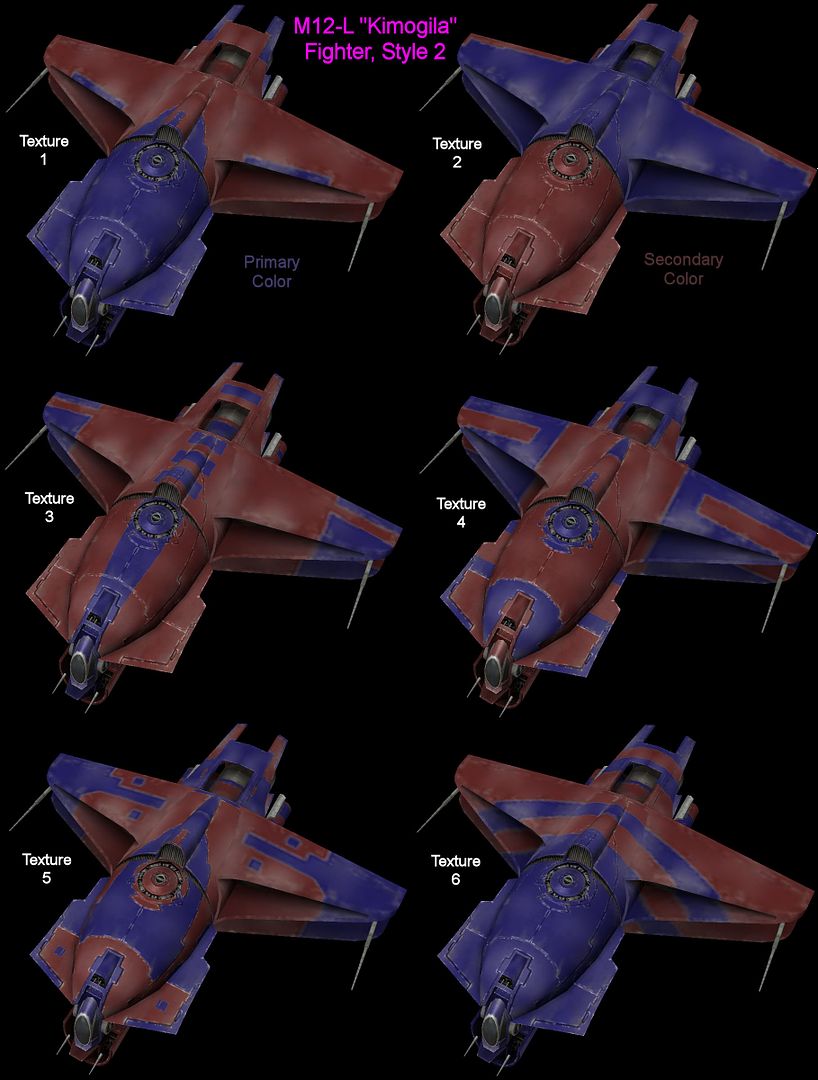
Style 4 w/Adv Bstr Graphic w/All 6 Textures - M12-L "Kimogila" Multi-role Fighter:
(Tier 2)
30k Resources ~110k mass [P: 3 Guns] 1 missile
[Spdx 0.92 Acc 350 Dec 350 Pitch 100 Yaw 100 Roll 50]
Style 1 w/All 6 Textures
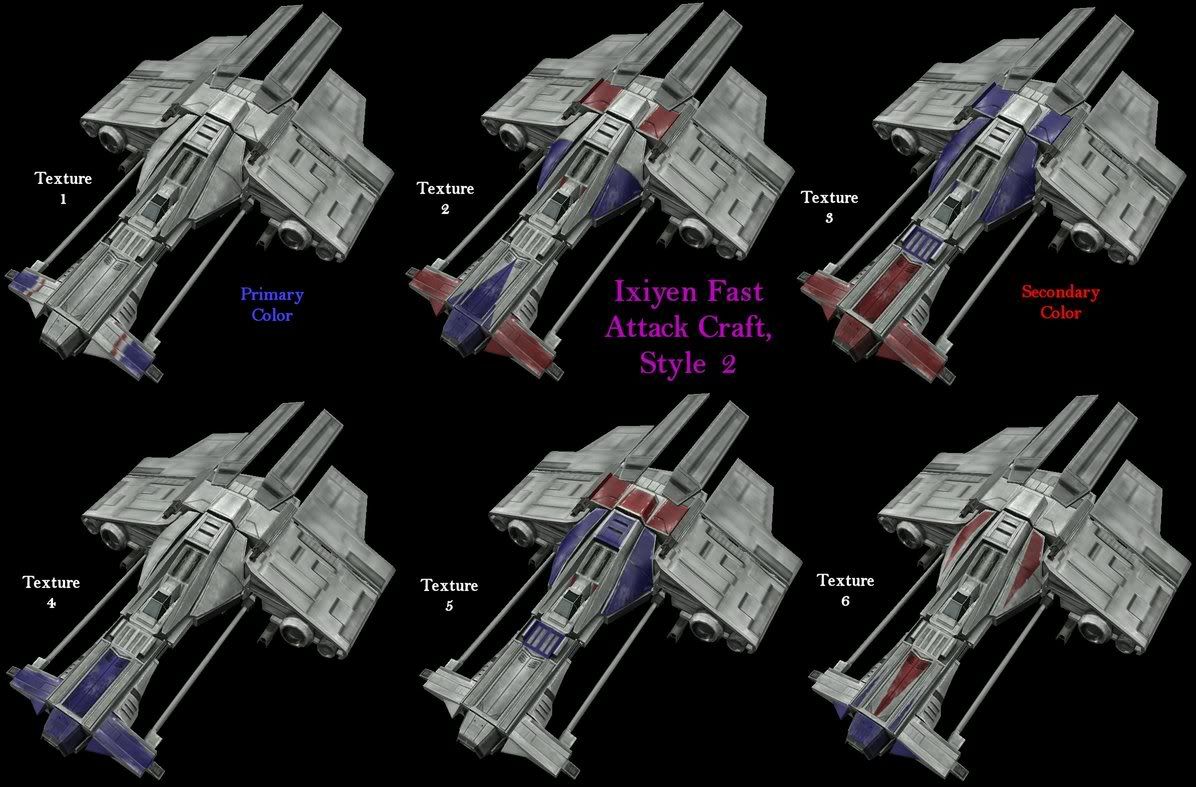
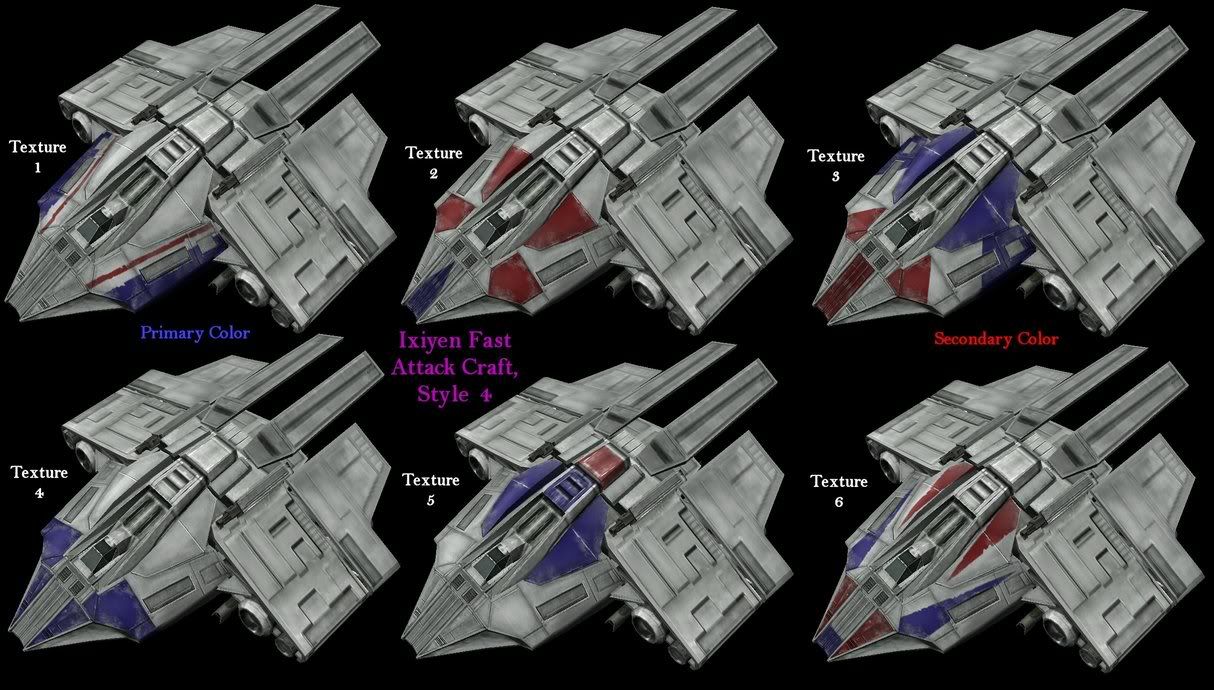
Style 2 w/All 6 Textures - Ixiyen Fast Attack Craft:
(Tier 3)
65k Resources ~95k mass [P: 2 Guns] 1 missile
[Spdx 0.95 Acc 250 Dec 300 Pitch 200 Yaw 200 Roll 100]
Style 1 w/All 6 Textures
Style 2 w/All 6 Textures
Style 3 w/All 6 Textures
Style 4 w/All 6 Textures
(Tier 4) N-1 Naboo Fighter: 90k Resources ~65k mass [P: 1 Gun] 1 missile
[Spdx 1.00 Acc 400 Dec 600 Pitch 250 Yaw 250 Roll 125]
Cannot be painted or textured.
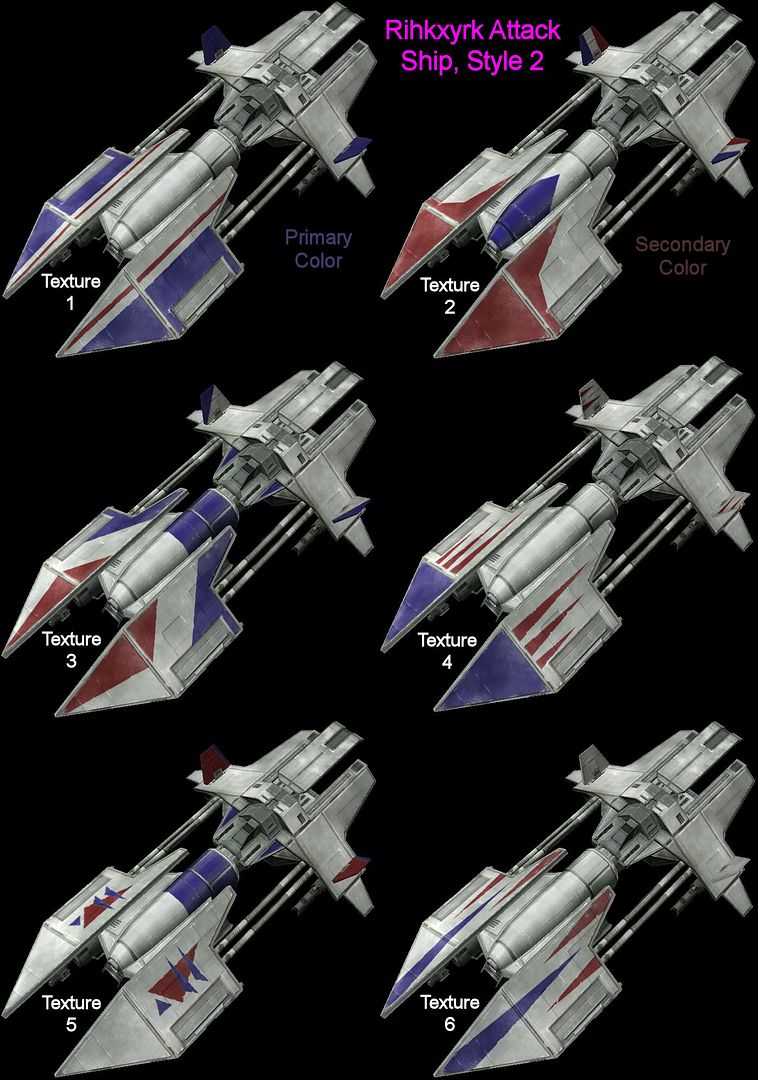
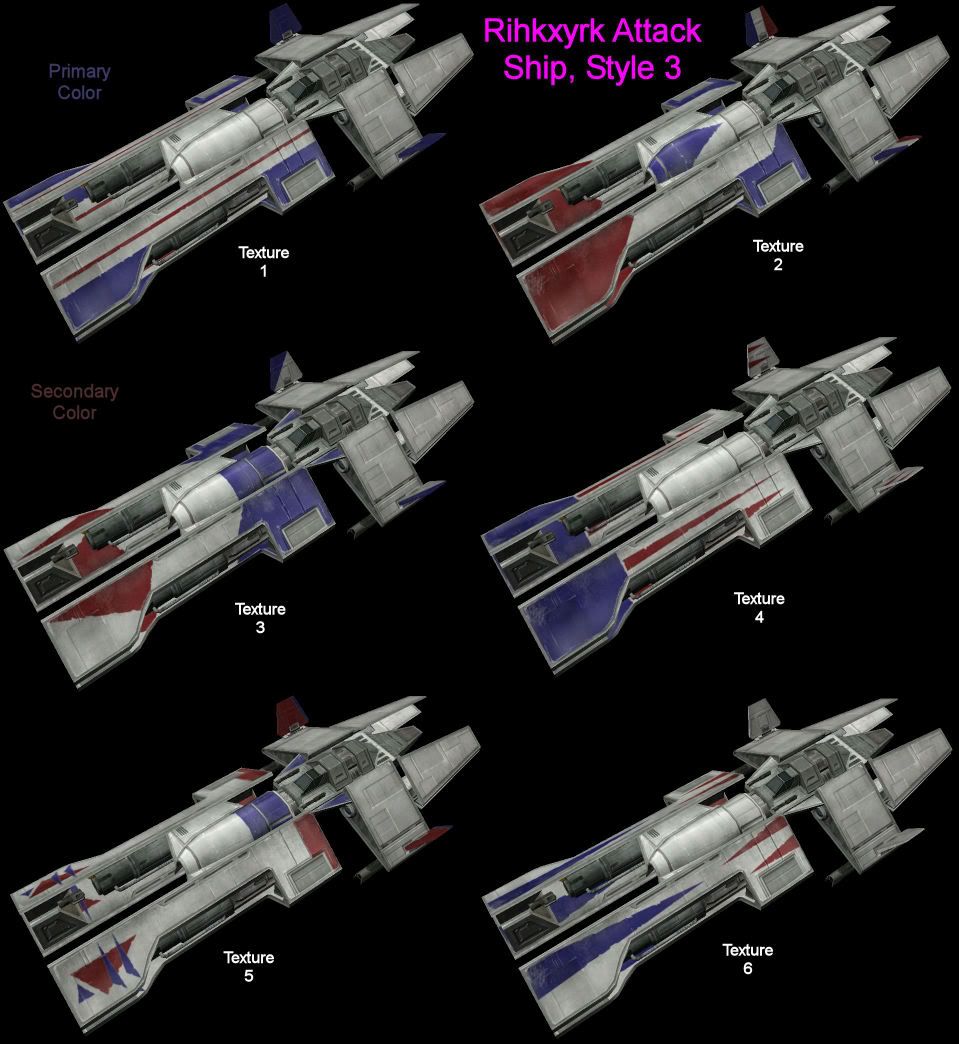
- Rihkxyrk Attack Ship:
(Tier 4)
90k Resources ~190k mass [P: 3 Guns] 1 missile
[Spdx 0.89 Acc 350 Dec 350 Pitch 100 Yaw 100 Roll 50]
Style 1 w/All Textures
Style 2 w/All Textures
Style 3 w/All Textures
Style 4 w/All Textures
(Tier 4) Vaksai: N/A Resources 150k mass [P: 1 Gun] 1 missile
[Spdx 1.00 Acc 350 Dec 350 Pitch 400 Yaw 400 Roll 200]
The Vaksai is a quest-given ship.
All 6 Textures w/Base Booster Graphic
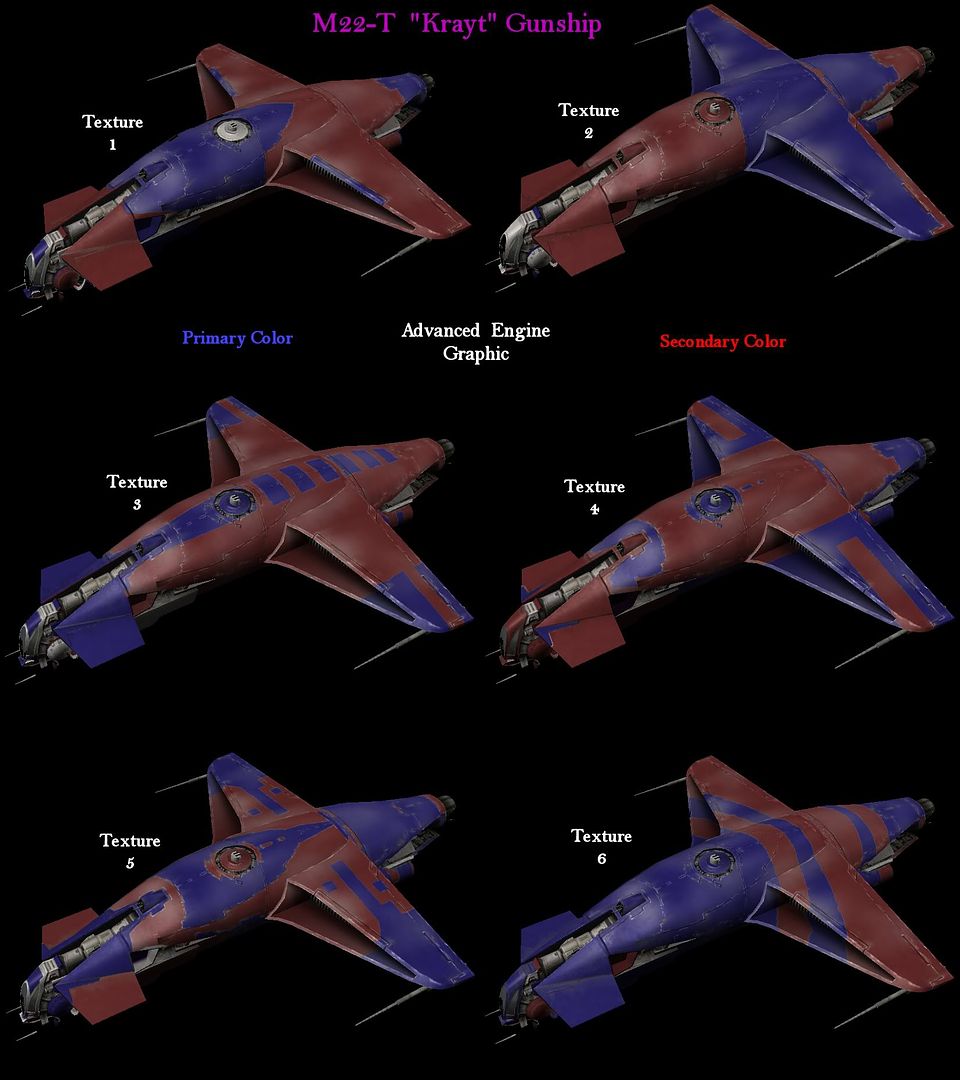
All 6 Textures w/Advanced Booster Graphic- M22-T "Krayt" Gunship:
(Tier 5)
150k Resources ~210k mass [P: 3 Guns T:+1] 1 missile
[Spdx 0.92 Acc 350 Dec 350 Pitch 100 Yaw 100 Roll 50]
All 6 Textures w/Base Engine Graphic
All 6 Textures w/Advanced Engine Graphic - YT-1300 Transport:
(Tier 5)
150k Resources ~5m mass [P: 0 Guns T:+2] 2 missiles
[Spdx 0.80 Acc 50 Dec 50 Pitch 50 Yaw 50 Roll 40]
All 6 Textures
(Tier 5) Blacksun AEG-77 Vigo Gunship: 150k Resources ~2.75m mass [P: 2 Guns T:+6]
[Spdx 0.60 Acc 100 Dec 100 Pitch 10 Yaw 10 Roll 10]
Cannot be painted or textured.
Imperial:
(Tier 0) TIE-LD: 5k Resources ~12k mass [P: 1 Gun] 0 missile
[Spdx 0.95 Acc 500 Dec 500 Pitch 600 Yaw 600 Roll 300]
- TIE Fighter:
(Tier 1)
15k Resources ~20k mass [P: 1 Gun] 1 missile
[Spdx 0.98 Acc 400 Dec 400 Pitch 500 Yaw 500 Roll 250]
(Tier 1) Heavy TIE Fighter: 50k Resources ~95k mass [P: 1 Gun] 1 missile
[Spdx 0.98 Acc 400 Dec 400 Pitch 500 Yaw 500 Roll 250]
(Tier 2) TIE/In: 30k Resources ~40k mass [P: 1 Gun] 1 missile
[Spdx 0.97 Acc 400 Dec 400 Pitch 400 Yaw 400 Roll 200]
- TIE Bomber:
(Tier 3)
60k Resources ~190k mass [P: 2 Guns] 2 missiles
[Spdx 0.85 Acc 100 Dec 150 Pitch 50 Yaw 50 Roll 25]
- TIE Interceptor:
(Tier 3)
60k Resources ~50k mass [P: 1 Gun] 1 missile
[Spdx 1.00 Acc 400 Dec 600 Pitch 300 Yaw 300 Roll 150]
- TIE Advanced:
(Tier 4)
80k Resources ~65k mass [P: 2 Guns] 1 missile
[Spdx 1.00 Acc 400 Dec 600 Pitch 300 Yaw 300 Roll 150]
- TIE Aggressor:
(Tier 4)
80k Resources ~120k mass [P: 1 Gun T:+1] 1 missile
[Spdx 0.95 Acc 200 Dec 300 Pitch 200 Yaw 150 Roll 100]
(Tier 4) Imperial Guard TIE Interceptor: N/A Resources 80k mass [P: 1 Gun] 1 missile
[Spdx 1.00 Acc 400 Dec 600 Pitch 300 Yaw 300 Roll 150]
The Imperial Guard TIE Interceptor is a quest-given ship.
- TIE Oppressor:
(Tier 5)
150k Resources ~170k mass [P: 2 Guns] 3 missiles
[Spdx 0.90 Acc 350 Dec 350 Pitch 100 Yaw 100 Roll 50]
- VT-49 Decimator:
(Tier 5)
150k Resources ~5m mass [P: 0 Guns T:+2] 3 missiles
[Spdx 0.80 Acc 50 Dec 50 Pitch 50 Yaw 50 Roll 40]
(Tier 5) Imperial YE-4 Gunship: 150k Resources ~2.75m mass [P: 2 Guns T:+6]
[Spdx 0.60 Acc 100 Dec 100 Pitch 10 Yaw 10 Roll 10]
Reward Vessels:
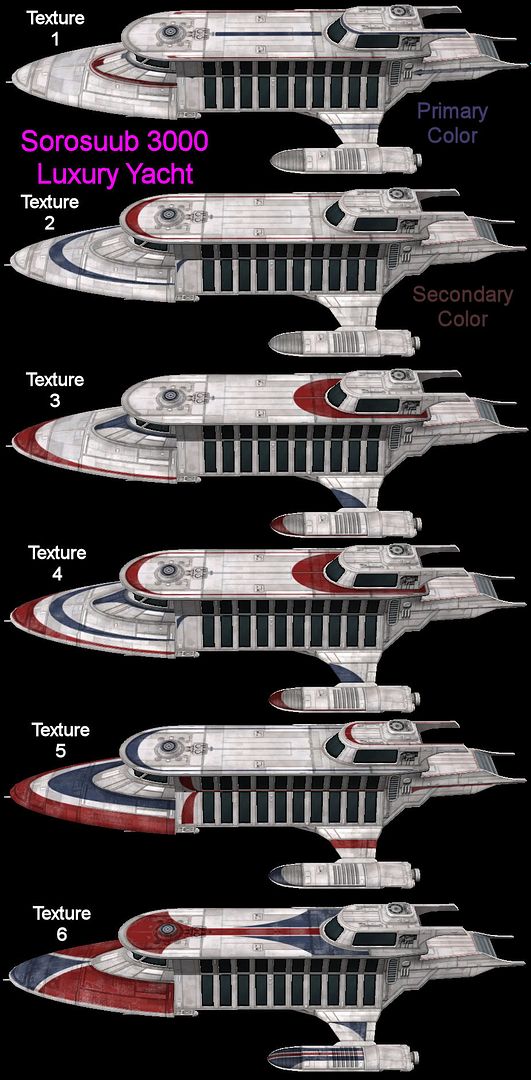
- Sorosuub Personal Luxury Yacht 3000 aka Lady Luck:
N/A Resources N/A Mass
[Spdx 0.80 Acc 50 Dec 50 Pitch 50 Yaw 50 Roll 40]
All 6 Textures
The Sorosuub 3000 is given as a veteran reward to anyone who has played for more then 180 days.
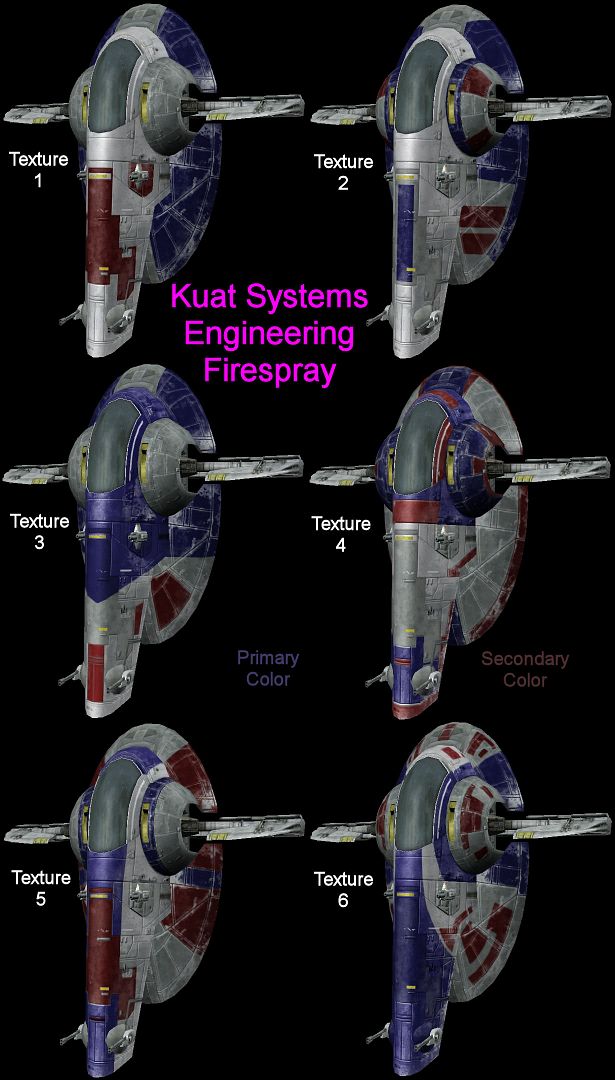
- KSE Firespray:
(Tier 5)
150k Resources ~210k mass [P: 2 Guns] 2 missiles
[Spdx 0.90 Acc 350 Dec 350 Pitch 100 Yaw 100 Roll 50]
All 6 Textures
You earn the Firespray schematic through Reverse Engineering.
Every Master Pilot gains certification in it.
- Y-8 Mining Vessel:
(Tier 5)
N/A Resources 5m mass [P: 1 Gun T:+4] 1 missile
[Spdx 0.80 Acc 150 Dec 100 Pitch 50 Yaw 50 Roll 40]
No Textures
The Y-8 Mining Vessel is a quest-given ship.
Every Master Pilot gains certification in it.
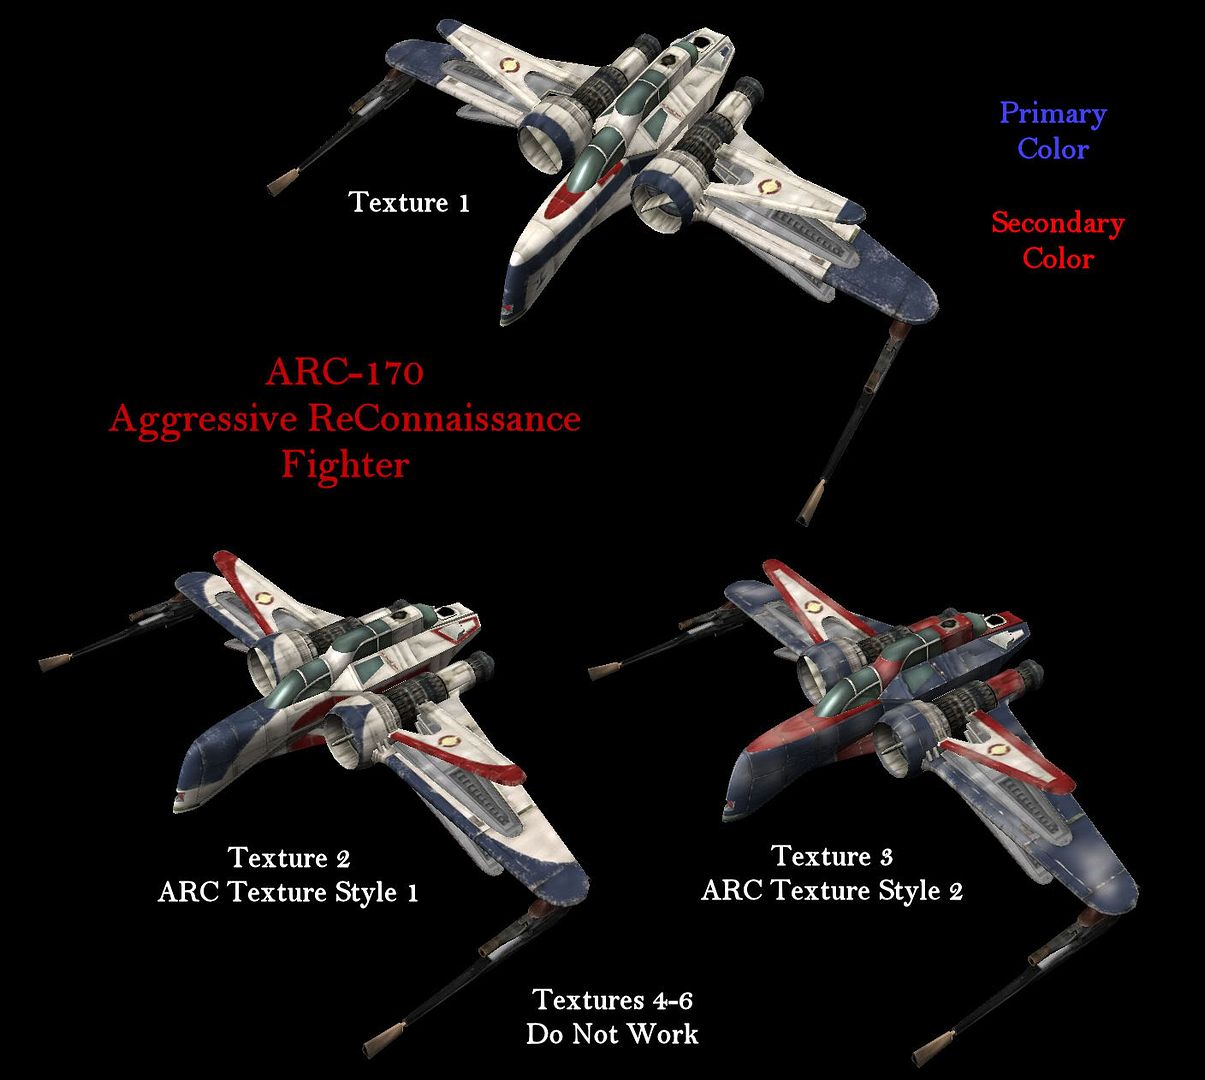
- ARC-170:
(Tier 4)
N/A Resources 125k mass [P: 1 Gun T:+2] 1 missile
[Spdx 0.97 Acc 400 Dec 400 Pitch 400 Yaw 400 Roll 200]
The ARC-170 is a quest-given ship.
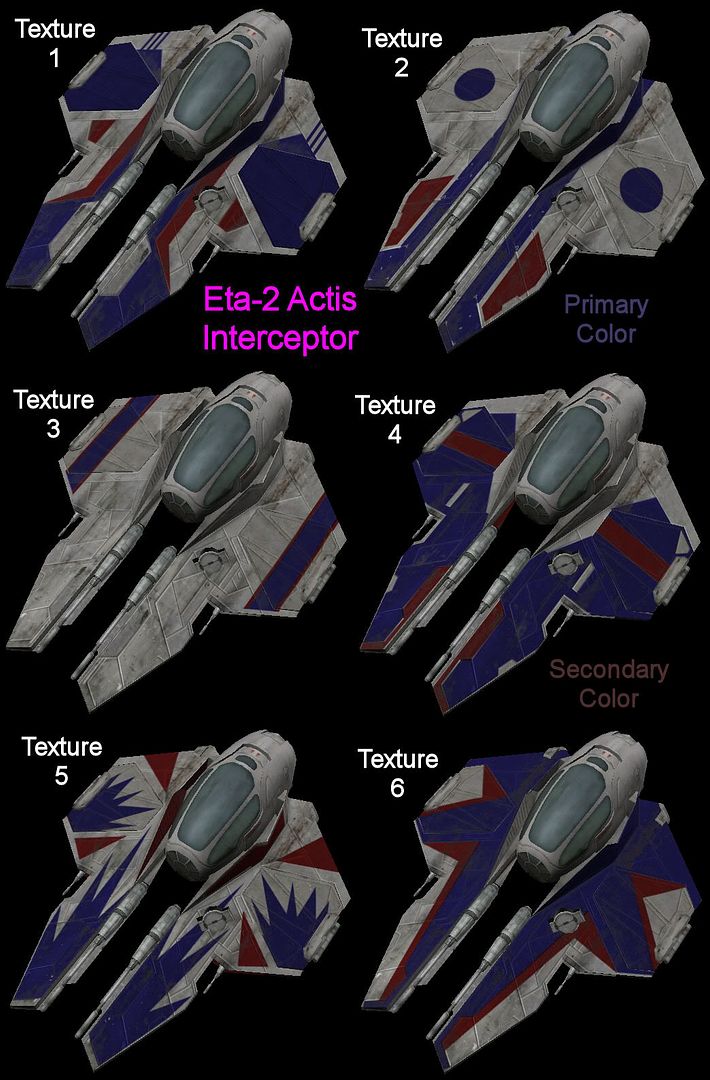
All 3 Textures - Eta-2 Actis Interceptor:
(Tier 4)
N/A Resources 90k mass [P: 2 Guns] 1 missile
[Spdx 0.95 Acc 400 Dec 400 Pitch 400 Yaw 400 Roll 200]
The Eta-2 is a quest-given ship.
All 6 Textures - Belbullab-22:
(Tier 4)
N/A Resources 90k mass [P: 2 Guns] 1 missile
[Spdx 0.95 Acc 400 Dec 400 Pitch 400 Yaw 400 Roll 200]
Both Textures
The Belbullab-22 is a quest-given ship.
- YT-2400:
(Tier 5)
N/A Resources 5m mass [P: 0 Guns T:+2] 2 missiles
[Spdx 0.80 Acc 150 Dec 100 Pitch 50 Yaw 50 Roll 40]
Textures ?
The YT-2400 is a quest-given ship.
Have fun up there, and watch out for all those gnarly asteroids